
Interior real estate photo editing can make the same room feel inviting, accurate, and ready for a serious buyer to explore online. As an agent, photographer, or marketing lead, you already know how much time goes into each shoot, so it is frustrating when small editing errors weaken the final result.
From exposure and color issues to distortion, clutter, and inconsistent style across a set, these problems are common but manageable. In this article, we walk through typical interior editing mistakes, how to fix them, and practical workflows you can apply to your next project.
What Happens If You Don’t Maintain High-Quality Real Estate Photos?
When interior photos fall below a clear quality standard, the impact shows up across your marketing and sales metrics.
Lower click‑through and engagement
On busy portals and social feeds, weak thumbnails get skipped. Listings with strong, professional photography have been shown to receive up to 61% more views than those with lower‑quality images, which directly affects lead volume.
Higher bounce rates from listing pages
If photos look dark, distorted, or cluttered, visitors leave quickly and spend less time exploring floor plans, descriptions, or virtual tours. This reduces opportunities to convert interest into inquiries.
More time on the market and increased price reductions
Better images help properties move faster. One study found that listings with professional photography sold 32% faster (RubyHome), spending around 89 days on the market compared to 123 days for other homes (NAR). A longer time on market often leads to more negotiations and price adjustments.
Weakened brand trust for agents and photographers
Inconsistent or low‑quality visuals can make both buyers and owners question your process and attention to detail. Over time, this affects referrals, repeat work, and how you are perceived compared with competing agents and photographers.
Read more: Best Real Estate Photo Editing Services for the US
Common Mistakes in Real Estate Photo Editing & How to Fix Them
Many interior real estate photo editing issues come from pushing adjustments too far or rushing through a set; the good news is that most of them have clear, repeatable fixes.
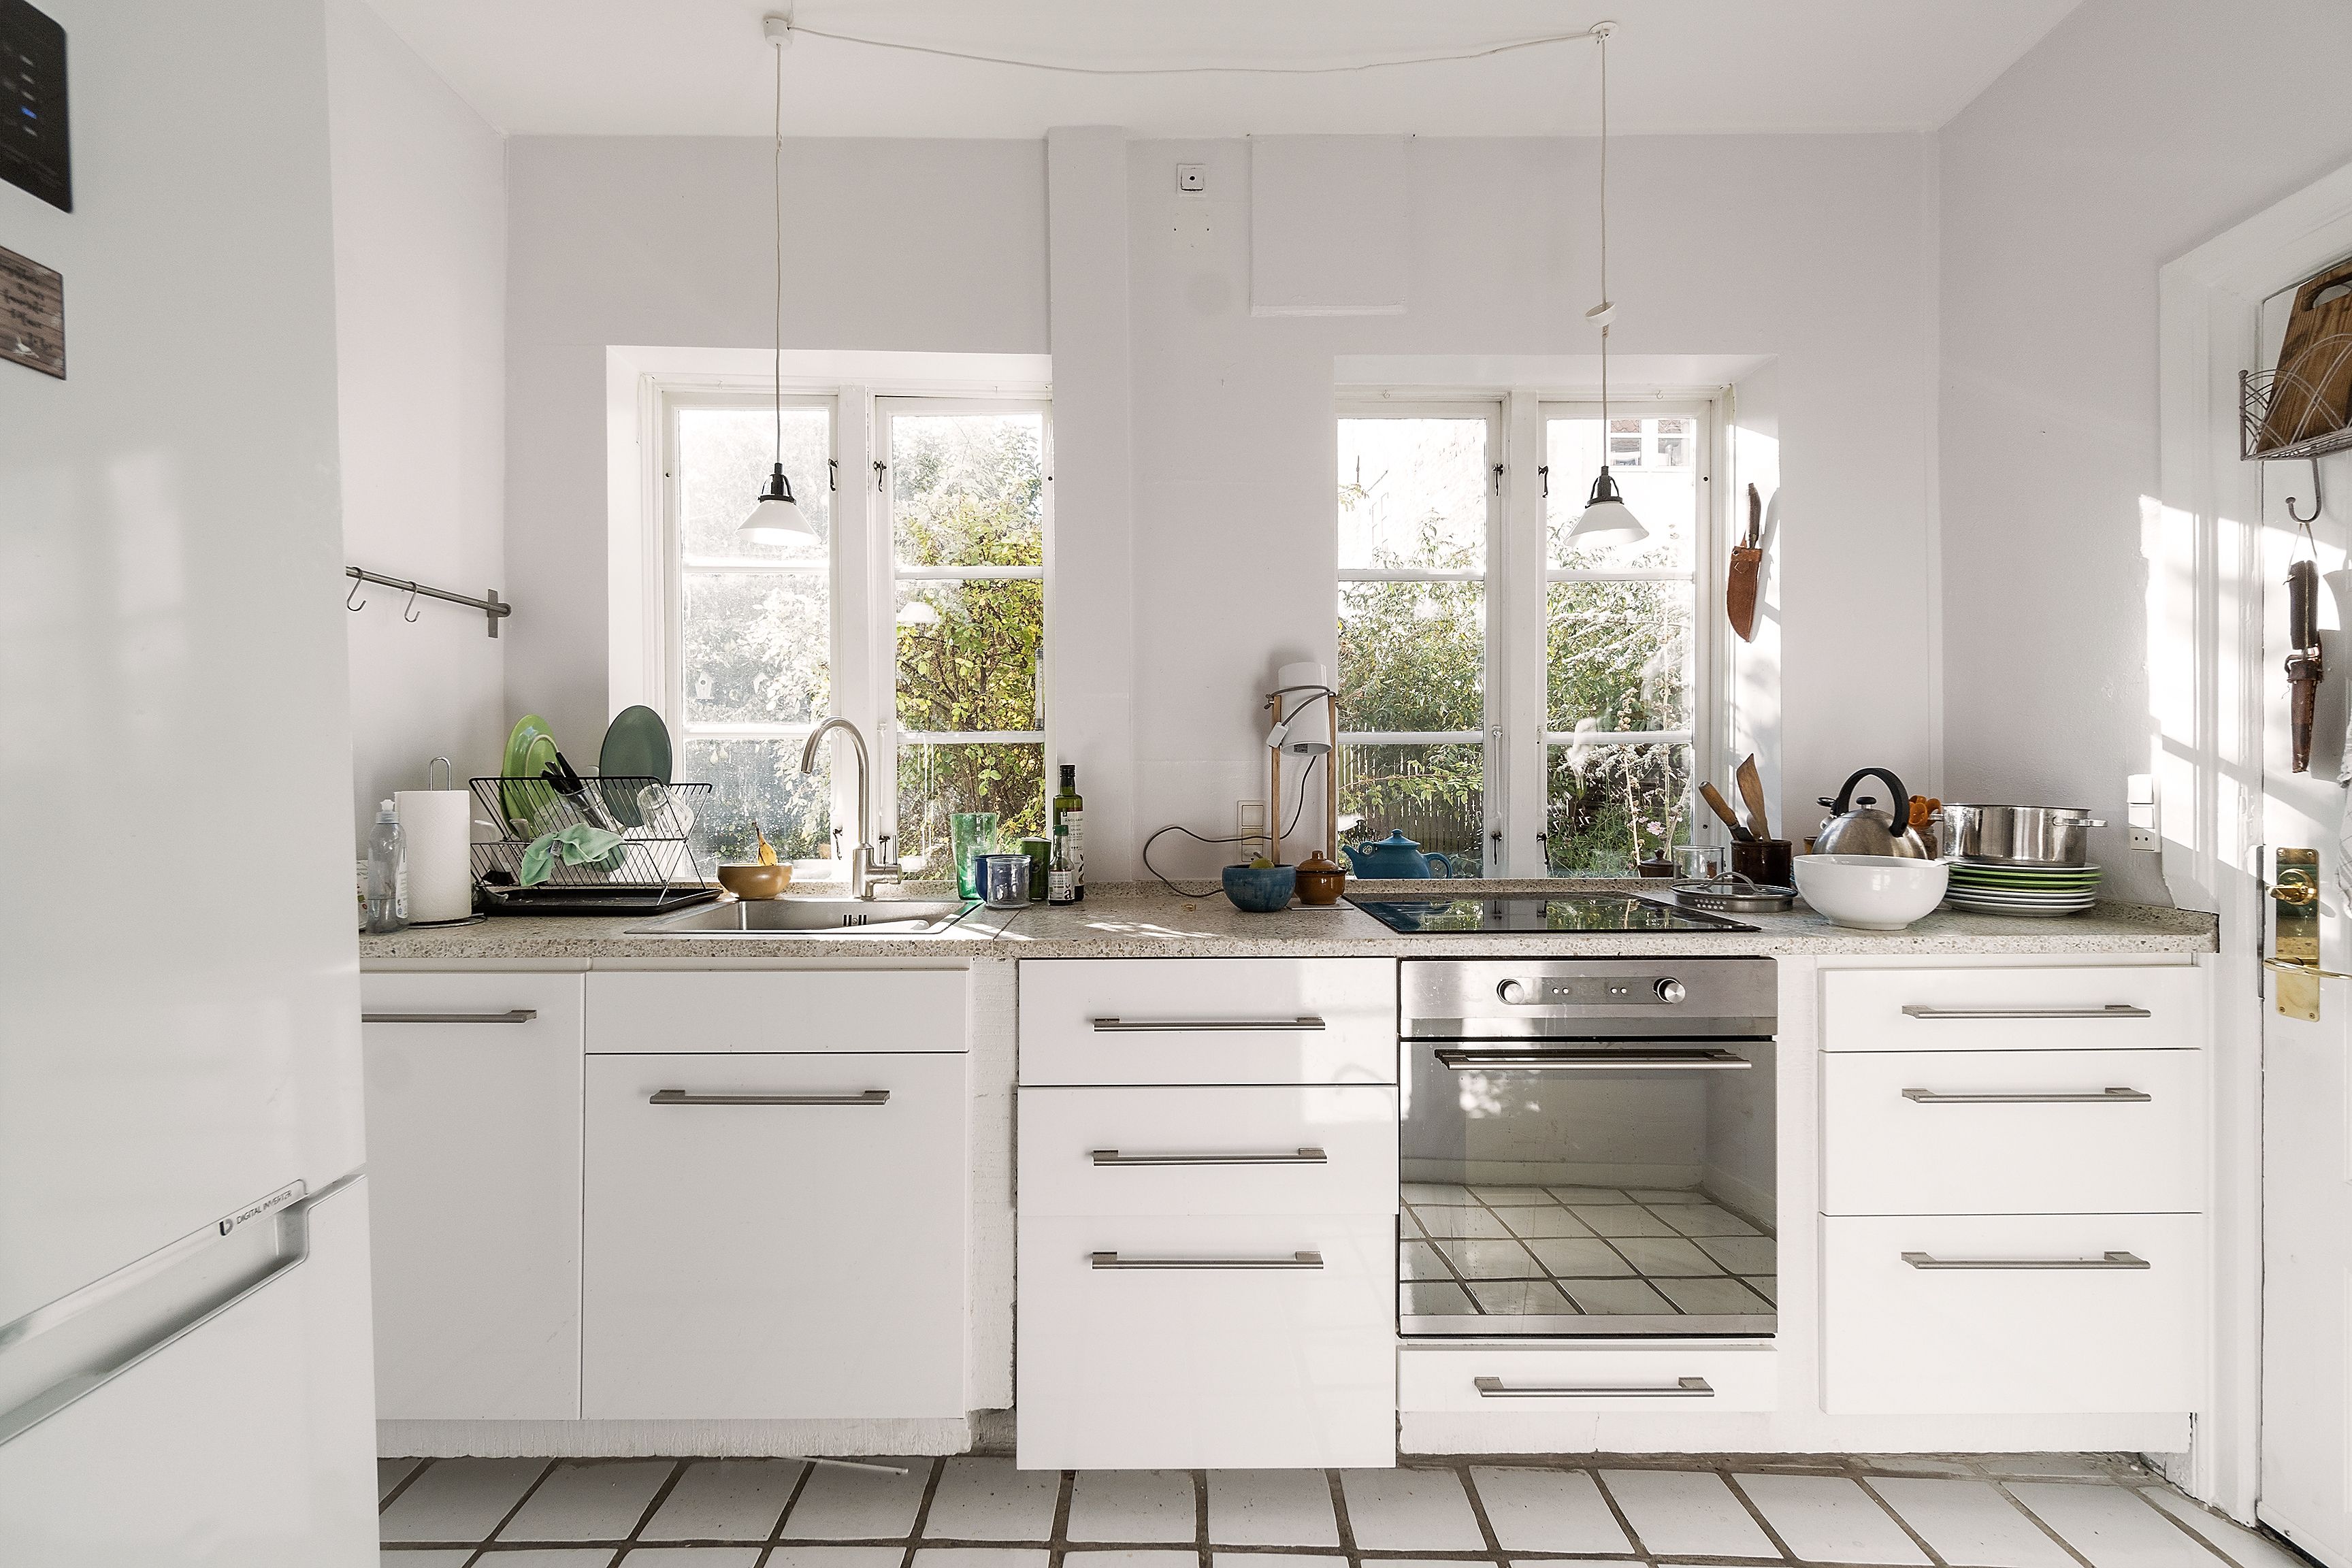
Over-brightening & Flat Images
Pushing exposure and shadows too high can remove natural depth, making rooms look washed out and unrealistic.
How to fix it:
Use HDR blending (3–5 bracketed exposures) to hold detail in both shadows and highlights instead of lifting a single file too aggressively.
Apply dodge and burn on key areas (for example, corners and furniture edges) to bring back shape and depth.
Watch the histogram and keep midtones and blacks present so contrast remains natural.
Incorrect White Balance
Color casts are one of the quickest ways to make a space feel uncomfortable, whether it leans too yellow from tungsten light or too blue from daylight.
How to fix it:
Start with the White Balance selector on a neutral surface (white trim, ceiling, or a gray card if you used one).
Refine with temperature and tint sliders, ensuring whites actually look white, not cream or cyan.
Save preferred white balance values as a preset for similar properties to keep sets consistent.
Crooked/Distorted Lines
Wide‑angle lenses often create leaning walls, stretched corners, and tilted door frames that make rooms feel unstable or misrepresented.
How to fix it:
Use Upright, Transform, or Geometry tools in Lightroom / Camera Raw to correct verticals and horizontals.
Turn on grid or guide overlays while adjusting to keep lines aligned.
Aim for a straight horizon and vertical walls, even if it means a small crop to remove warped edges.
Pure white windows with no outside detail remove context and can make interiors look cheaper or overexposed.
How to fix it:
Capture bracketed exposures on location, including at least one frame that preserves the exterior view.
In editing, place the exterior exposure on a layer above the interior and mask it into the window areas.
Feather the mask edges slightly and match brightness and color so the view feels natural, not cut‑and‑paste.
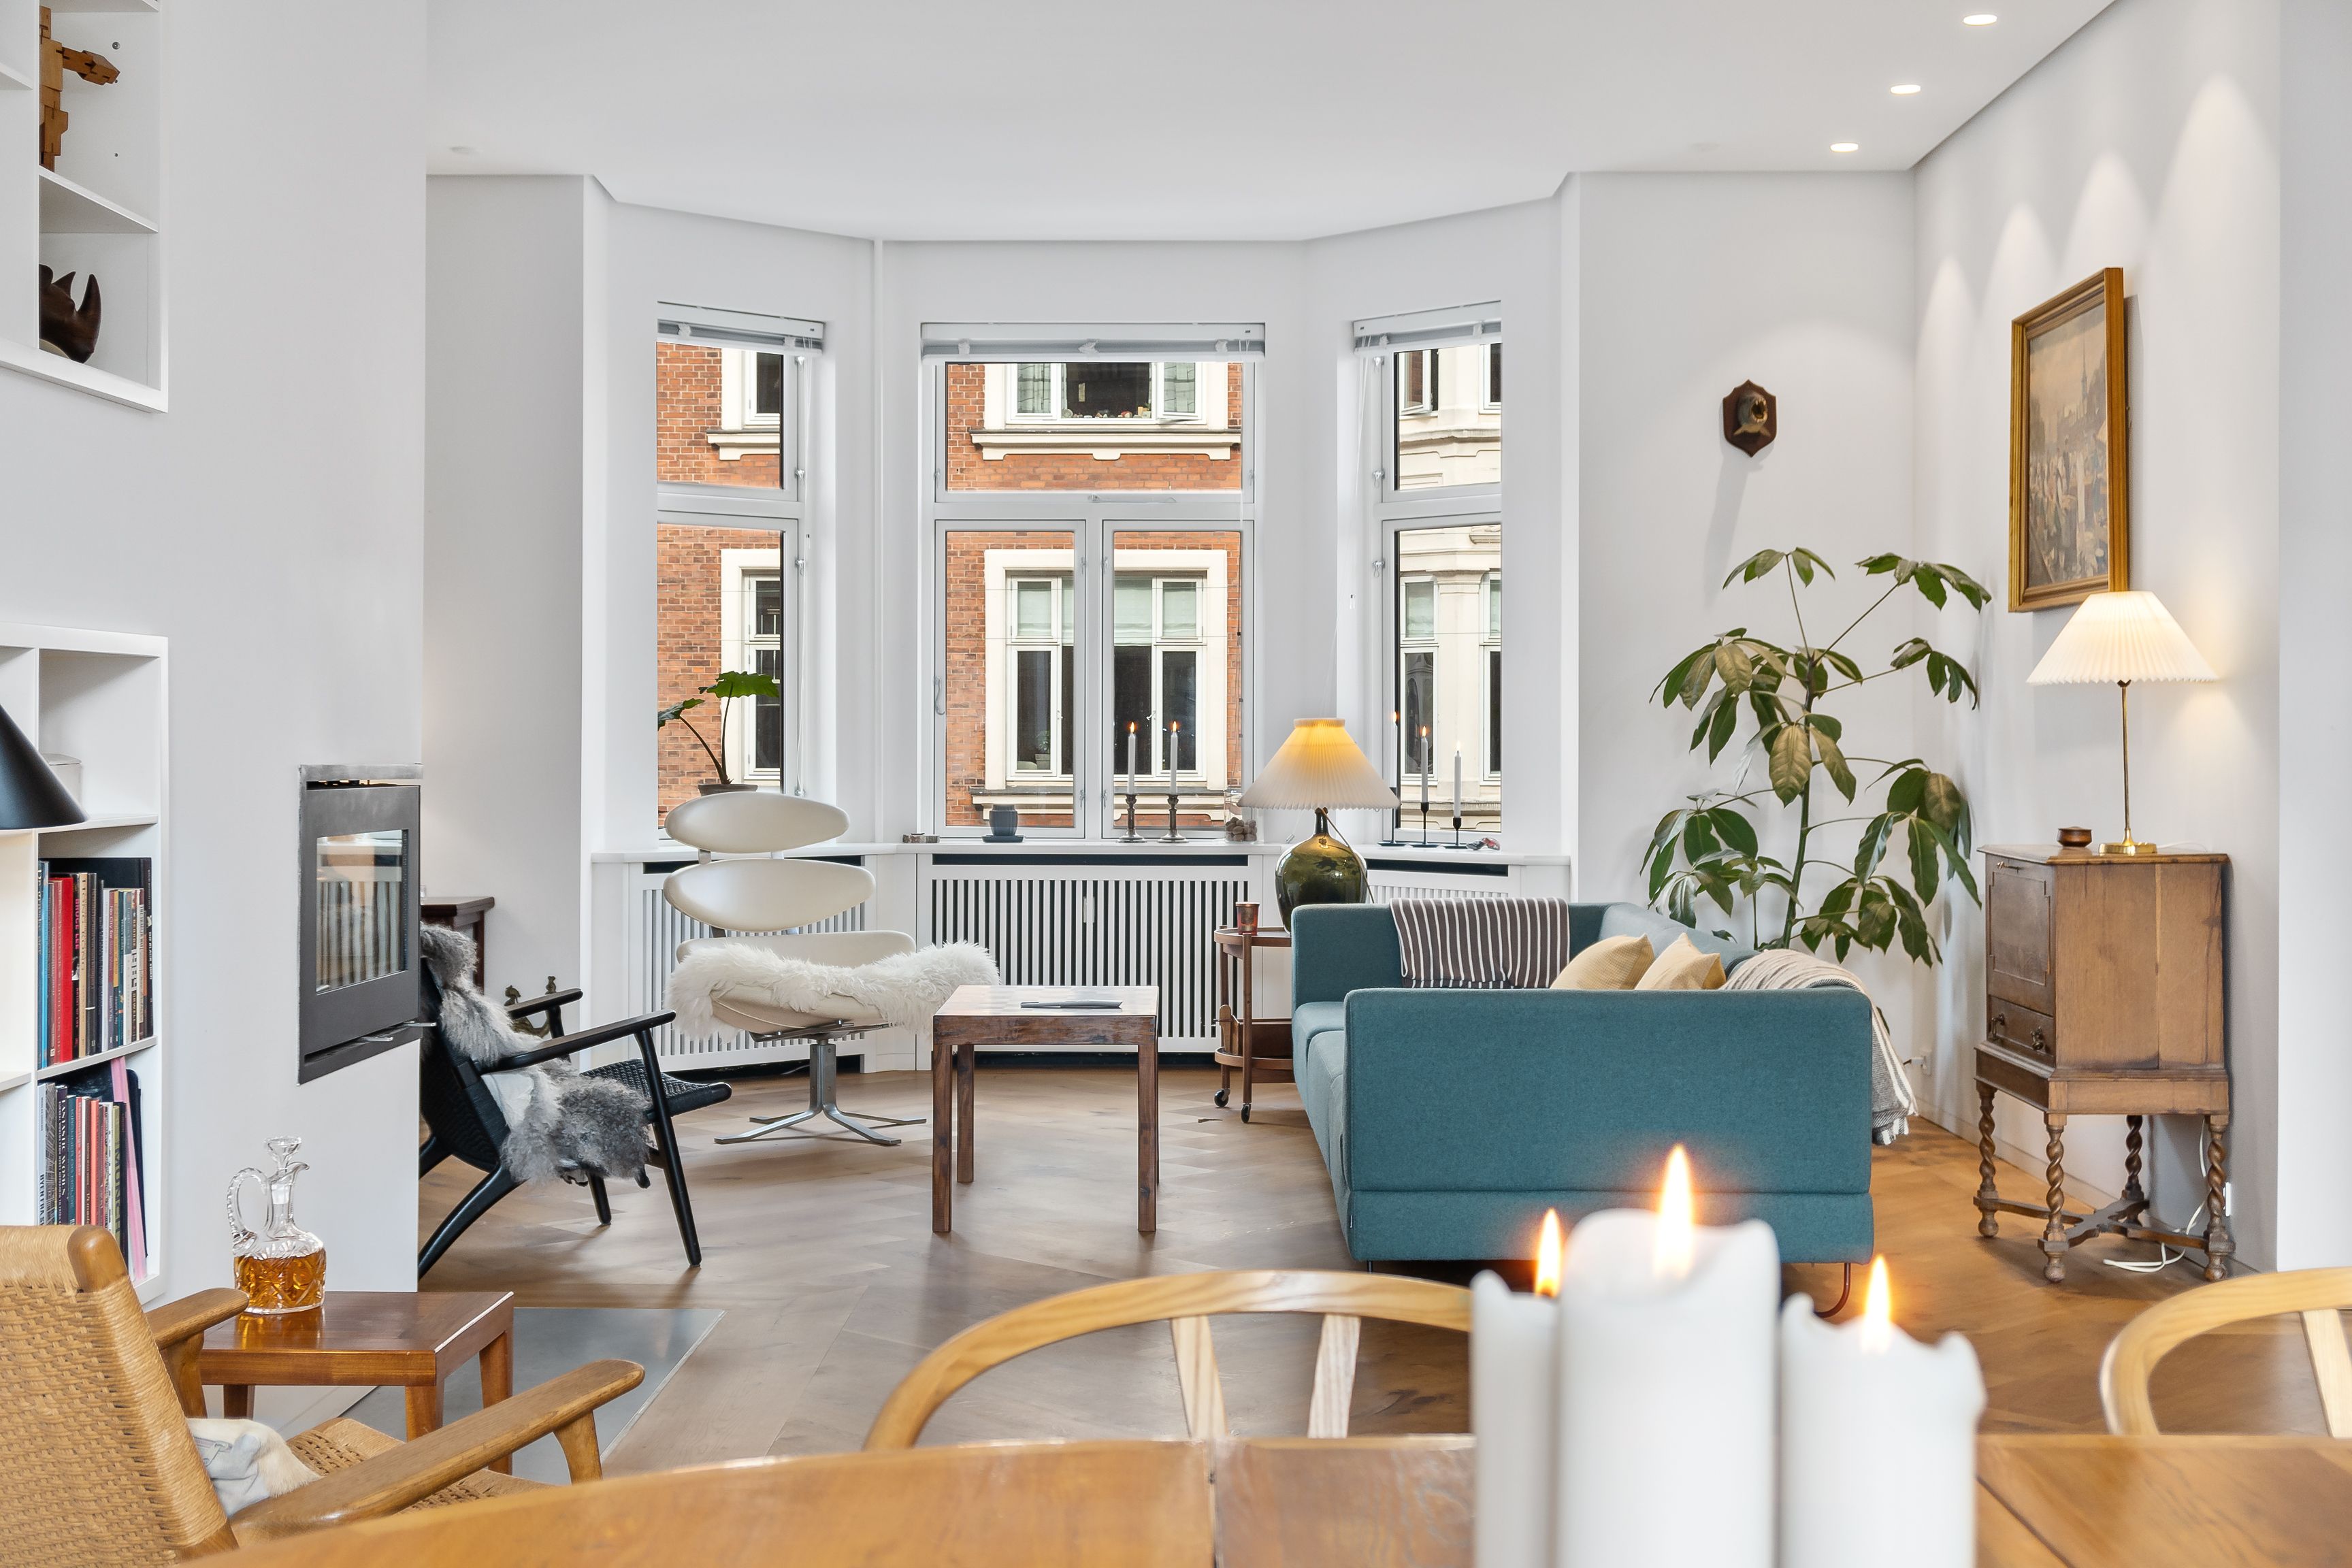
Poor Lighting Consistency
Different color temperatures and uneven brightness between rooms can make a photo set feel disjointed, even when each image looks acceptable on its own.
How to fix it:
Group photos by room or property and batch edit exposure, contrast, and white balance.
Keep interior brightness within a fairly narrow range across the set so the tour feels smooth.
When possible, standardize capture settings (ISO, shutter, aperture) and lighting decisions to make editing easier.
Read more: Transform Your Real Estate Images with the Best Photo Editing Software
Distracting Elements/Clutter
Small distractions draw the eye away from layout and features, especially in high‑resolution interior shots.
How to fix it:
Use spot removal, healing brush, and clone stamp tools to remove cables, small objects, wall marks, and sensor dust.
Clean up reflections that show cameras, tripods, or photographers in mirrors, glass doors, and TV screens.
Build a simple checklist for the shoot (hide bins, straighten textiles, clear counters), so less digital cleanup is needed later.
Over‑Sharpening and Halos
Sharpening is helpful, but pushing it too far creates halos around edges and noisy textures on walls and ceilings.
How to fix it:
Sharpen on the final output size, not the huge original.
Use masking so sharpening targets edges and details, not flat areas like walls.
Zoom to 100% and check for halos around window frames and high‑contrast edges.
Excessive Saturation and Unnatural Colors
Very strong blues in windows, neon‑green lawns, or overly warm interiors can feel unreliable to buyers.
How to fix it:
Use vibrance before saturation and keep numbers modest.
Tame specific colors (HSL panel) instead of boosting the whole image.
Keep an eye on skin tones and wood as a reference for what looks believable.
Additional Best Practices for Interior Real Estate Photo Editing
A few simple habits at the capture and editing stages can prevent many common issues and keep your interior sets consistent.
Shoot with editing in mind
Plan your shoot so your files give you enough flexibility later.
Use a tripod and keep the camera height consistent across rooms.
Capture bracketed exposures for key spaces to support the HDR workflow.
Avoid extreme angles that will require heavy perspective correction.
Create a style guide
A clear visual standard helps every project look like it belongs to the same brand.
Define target contrast, saturation, and white balance ranges.
Set separate guidelines for interiors and exteriors.
Include examples of “approved” looks and tones for your team or editor.
Use presets and batch workflows
Presets speed up editing while keeping photos from the same property aligned.
Build or refine presets for base adjustments (exposure, WB, contrast).
Apply them to full sets, then fine‑tune hero images individually.
Save different versions for daylight interiors, twilight, and no‑window rooms.
Calibrated monitors and export checks
Accurate viewing and export settings keep colors and brightness reliable for buyers.
Calibrate your monitor regularly so white and midtones stay true.
Use sRGB color space and portal‑friendly sizes for online listings.
Test exports on multiple devices to confirm readability and overall balance.
Know when to outsource
There is a point where volume and complexity make external support more effective.
Consider outsourcing when you handle high volumes, complex HDR or window pulls, or strict next‑day turnarounds.
Start with a test batch to align style and instructions.
Keep a simple checklist and style guide so your editor can stay consistent over time.
Read more: Top 9+ Real Estate Photography Tips for Photo Editing
Partner with Esoft for Professional Interior Real Estate Photo Editing Services
With more than 20 years focused on real estate visuals, Esoft supports photographers, agents, and marketing teams who need reliable, high‑quality editing at scale. Our real estate photo editing solutions combine dedicated editors, clear workflows, and quality control to keep your interior sets consistent from one property to the next.
Our photo editing services include:
HDR blending and exposure balancing for bright, natural interiors.
Color correction and white balance tuning for clean, accurate tones.
Perspective and vertical correction to keep rooms stable and true to life.
Object removal and clutter cleanup for distraction‑free spaces.
Sky replacement and day‑to‑dusk conversion for exteriors and window views.
Social media–ready and MLS‑ready exports tailored to your channels.
If you are looking for a long‑term editing partner for interior real estate photo editing, Esoft can help you build a workflow that fits your volume and style.
Wrap Up
Interior real estate photo editing has a direct effect on how buyers respond to your listings, from click‑through and time on page to how well they understand space and layout. Avoiding common mistakes with exposure, color, perspective, and clutter helps interiors feel accurate and comfortable to view. Clear workflows, style guides, and smart use of presets keep quality steady as volumes grow, and the right partner can support tight deadlines. If you need help upgrading your interior editing process, get in touch with Esoft today!
Related Blogs
What are real estate panorama photo editing services? How can they benefit your business?
Photo Editing
Common mistakes and how to fix interior real estate photo editing?
Photo Editing

Virtual decluttering in real estate photo editing
Photo Editing
Flambient Real Estate Photo Editing: A Complete Guide for Perfect Lighting
Photo Editing


Linh Phan
Content Strategy Executive
No Spam, Just Updates
Our fresh blogs provide technical and industrial information that helps strengthen your business. Sign up to be the first to receive the new updates
