
Real estate photography is essential to selling a property, as it provides potential buyers with a visual representation of the property. Professional-quality photos can make a huge difference in the success of a sale. Whether you’re a professional real estate photographer or a homeowner looking to take great photos of your property, these real estate photography tips can help you capture stunning images that will help you and your clients make the sale.
Why Do You Need Real Estate Photography Tips?
Real estate photography tips aren’t just for the pros, they’re useful for anyone wanting to make a property look its best. Even if you’ve been shooting for years, technique and technology keep evolving. These tips help professional photographers like you stay on top — improving composition, lighting, post-processing — so your work remains competitive. Using high-quality photos lets you showcase more detail, highlight architectural features better, and command higher fees.
For real estate agents, the listing’s photos are often the first impression buyers get. Clear, professional images can increase click-throughs online, help listings sell faster, and even lead to better offers. Poor photos, by contrast, often lead potential buyers to scroll past. And if you’re homeowners preparing to sell a property, great photos mean your home will catch more attention and often sell more quickly. Investing time (or money) to improve image quality through proper editing, staging, and lighting can lead to a higher perceived value and less time on market.
5 Basics of Photo Editing
Before you start editing, there are a few basic real estate photography tips on photo editing that you need to understand. Knowing these basics can help you get the most out of your photos and help you capture professional-grade images. Buyers consistently rank photos as the most valuable content when searching online, so strong editing fundamentals directly impact engagement:
Cropping: The cropping function enables you to modify the framing of your photograph to adjust its structure. Do you want to remove that uninvited guest in the background or that ugly structure in the corner of your image? Cropping can take care of those distractions that are located in the outer parts of the original photo. You can crop to whatever size you want to alter the picture from a horizontal orientation to a vertical one. Also, clean framing reduces edge clutter and directs attention to selling features (windows, cabinetry, landscaping).
Color Correction (Balance): Professional editing software offers multiple options for color correction, with the most basic being the ability to adjust the histogram. This histogram reflects the range of colors found in a given photo, and the level adjustment feature gives the user the capability to change the ratio of the colors, thus making the colors brighter, darker, or more vibrant. Lightroom’s histogram and Auto tone workflow are designed to maximize tonal range while minimizing clipped detail.
White Balance: This feature is a specific type of color adjustment that is used on whites. If a photo appears to be too blue or too yellow, then the white balance needs to be adjusted. Accurate white balance prevents misrepresentation of finishes (paint, flooring, stone). Many editing programs have a one-click auto-adjustment option that can be used. In Lightroom, the Temperature/Tint controls and WB presets or the eyedropper on a neutral area quickly remove color casts. Experimenting with this function will demonstrate the substantial influence it has on the overall look of the photograph.
Sharpening: This feature can reveal the subtle details in your pictures and make elements that are out of focus appear clearer. Enhancing the sharpness of images can be very useful in some cases, but it can also introduce unwanted distortion or graininess in others. Unfortunately, some fuzzy photos cannot be improved with digital sharpening, however, if they’re able to be, it’s advised to use this tool carefully and only with a minimal amount of sharpening for the desired result. Adobe recommends gentle strength and building up gradually, over sharpening adds grain and artificial edges that hurt credibility.
Saturation: The degree of purity of color can be determined by examining the saturation. When an RGB file and the RGB color space are utilized as a benchmark, the most vivid shade of red is RGB (255, 0, 0), while the most vivid shade of green is RGB (0, 255, 0) and the most vivid shade of blue is RGB (0, 0, 255). These are the most extreme, impactful, and immaculate shades, and when the RGB code comprises only 0 and 255 values, the color is fully saturated. For real-estate realism, prioritize natural color — push saturation too far and images look fake; it’s generally easier to avoid oversaturation that way.
For agents, high-quality visuals are part of their marketing “product”. Properties marketed with professional photos perform better in listings and also help agents build credibility. Buyers don’t just look at technical quality; they want to picture themselves living in the property with image clarity, realistic color tones, accurate lighting. Plus, good photos reduce wasted time (fewer physical showings for unqualified leads) and improve conversion from “click to showing”. Dialing in these real estate photography tips will keep your photo offerings practical and revenue-oriented.
Photo Editing Tips and Tricks
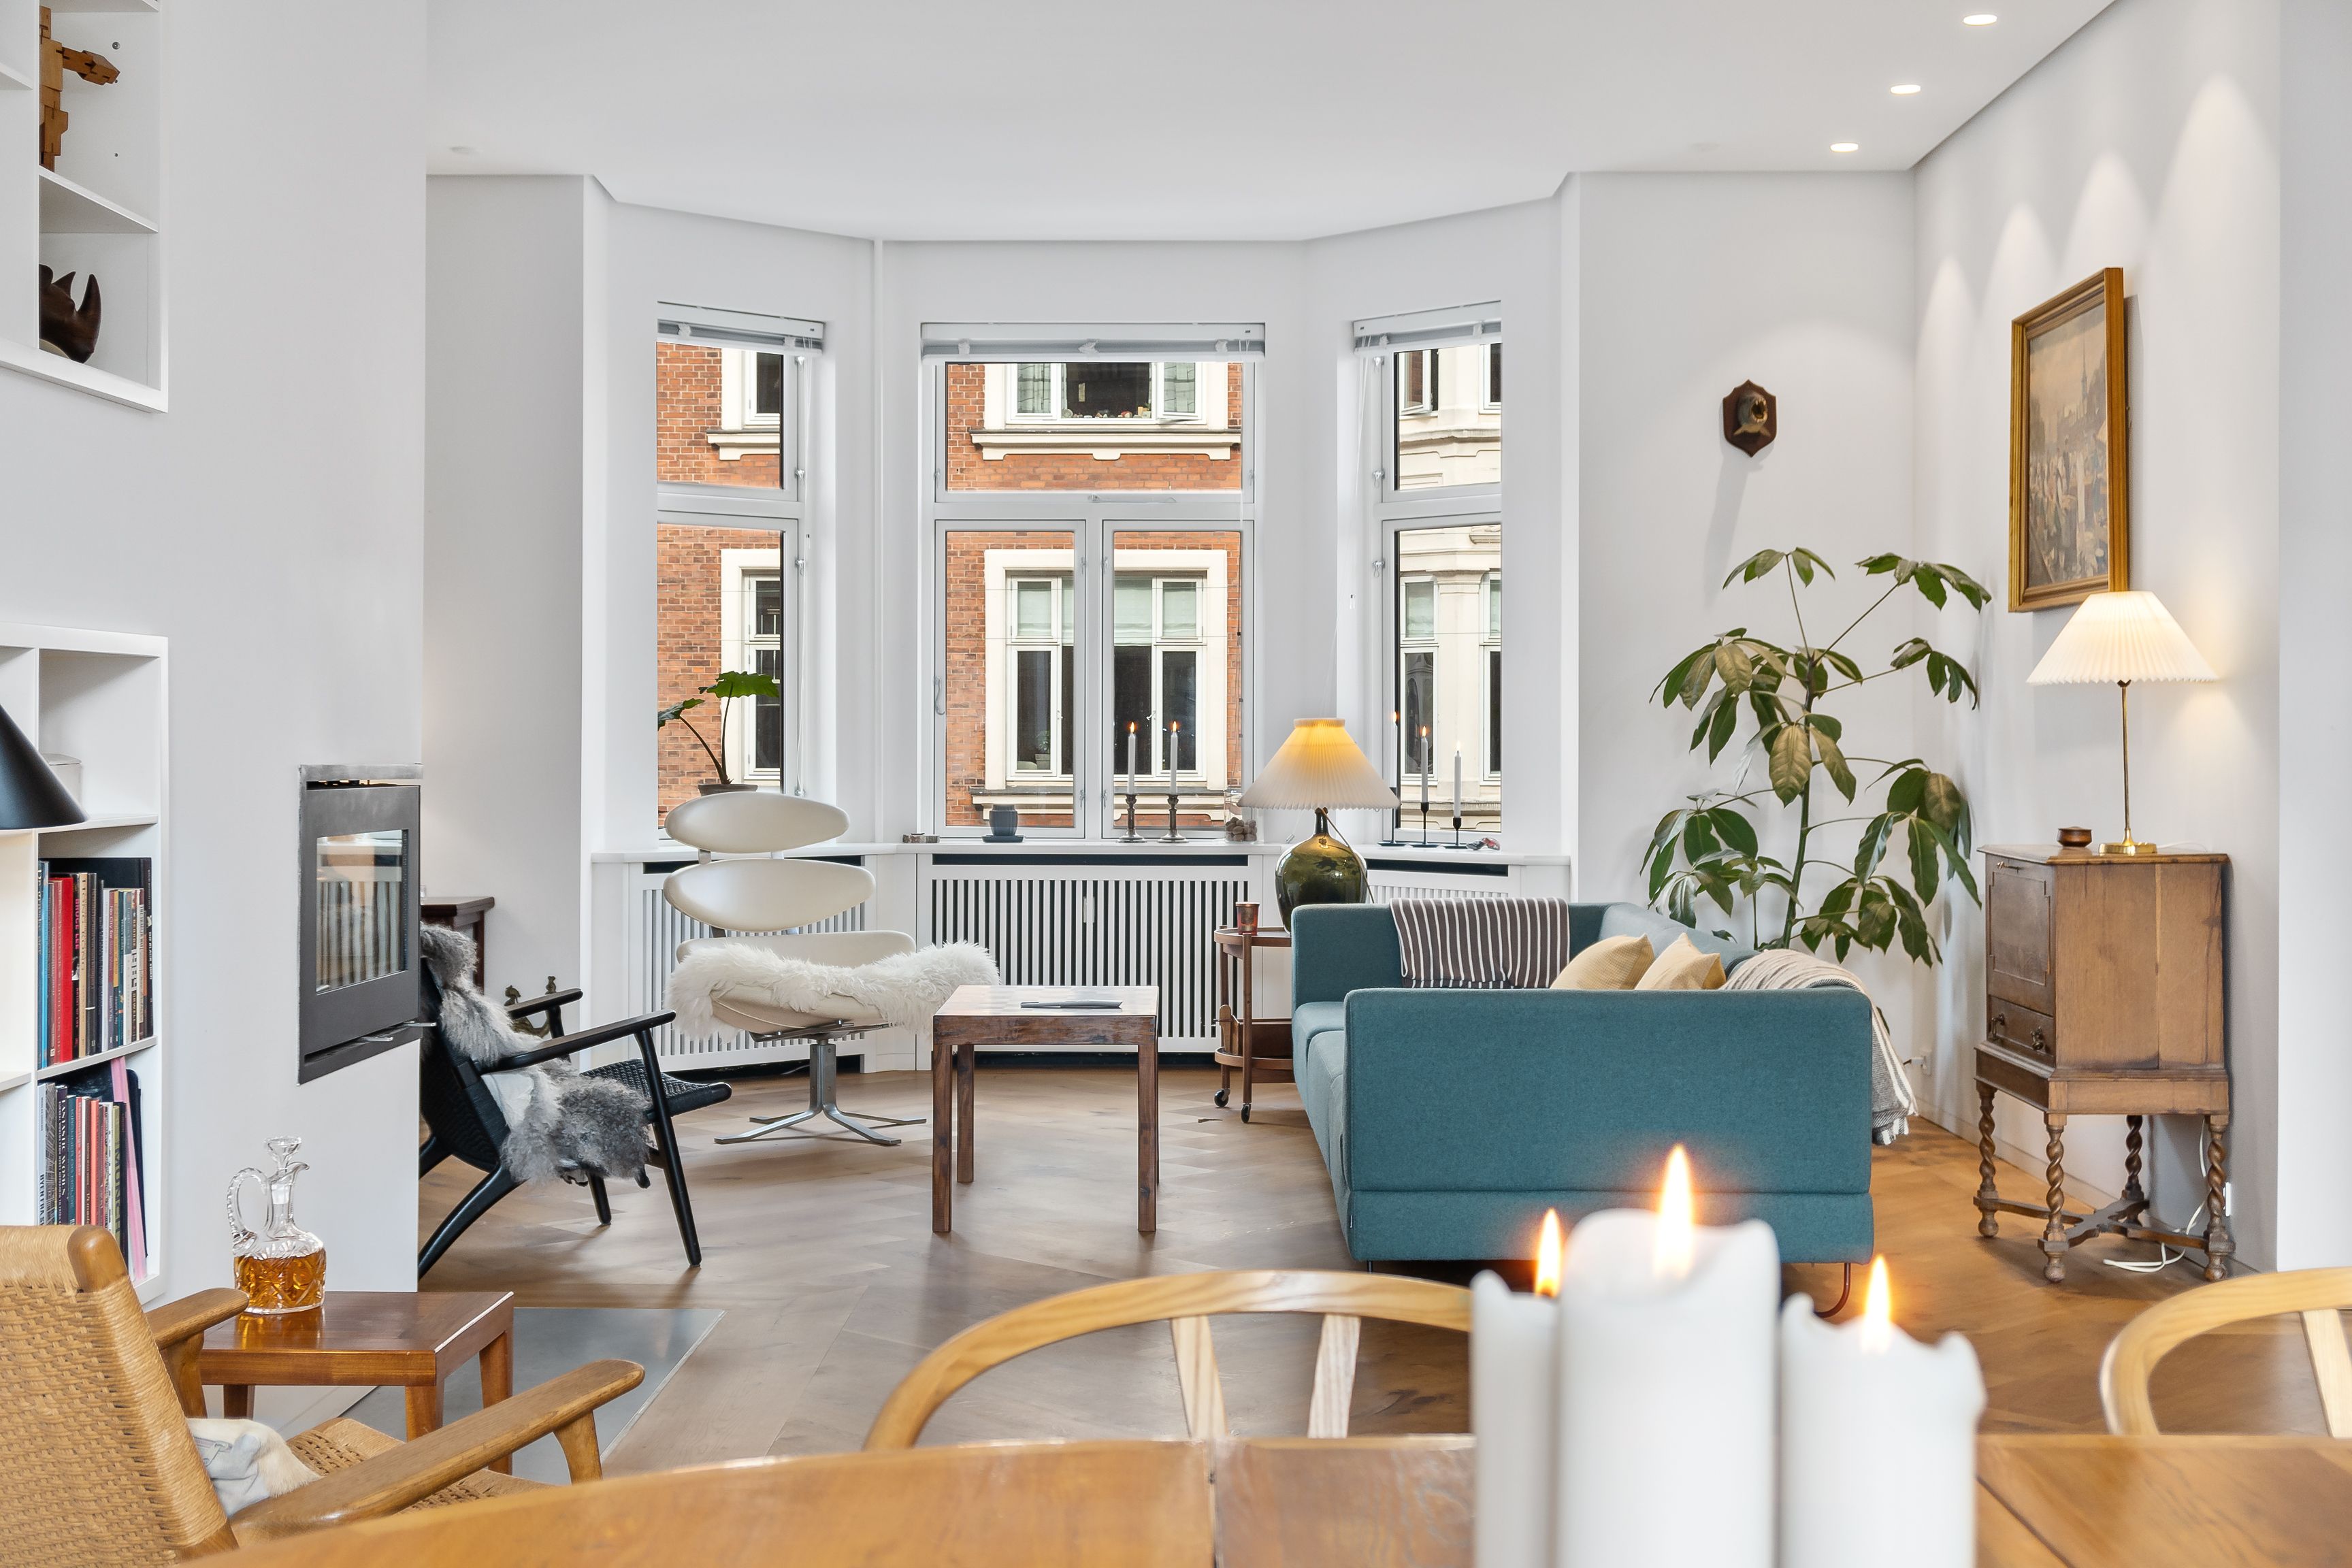
Another interior property photo edited professionally by Esoft
Once you have a basic understanding of photo editing, there are some real estate photography tips and tricks that you can use:
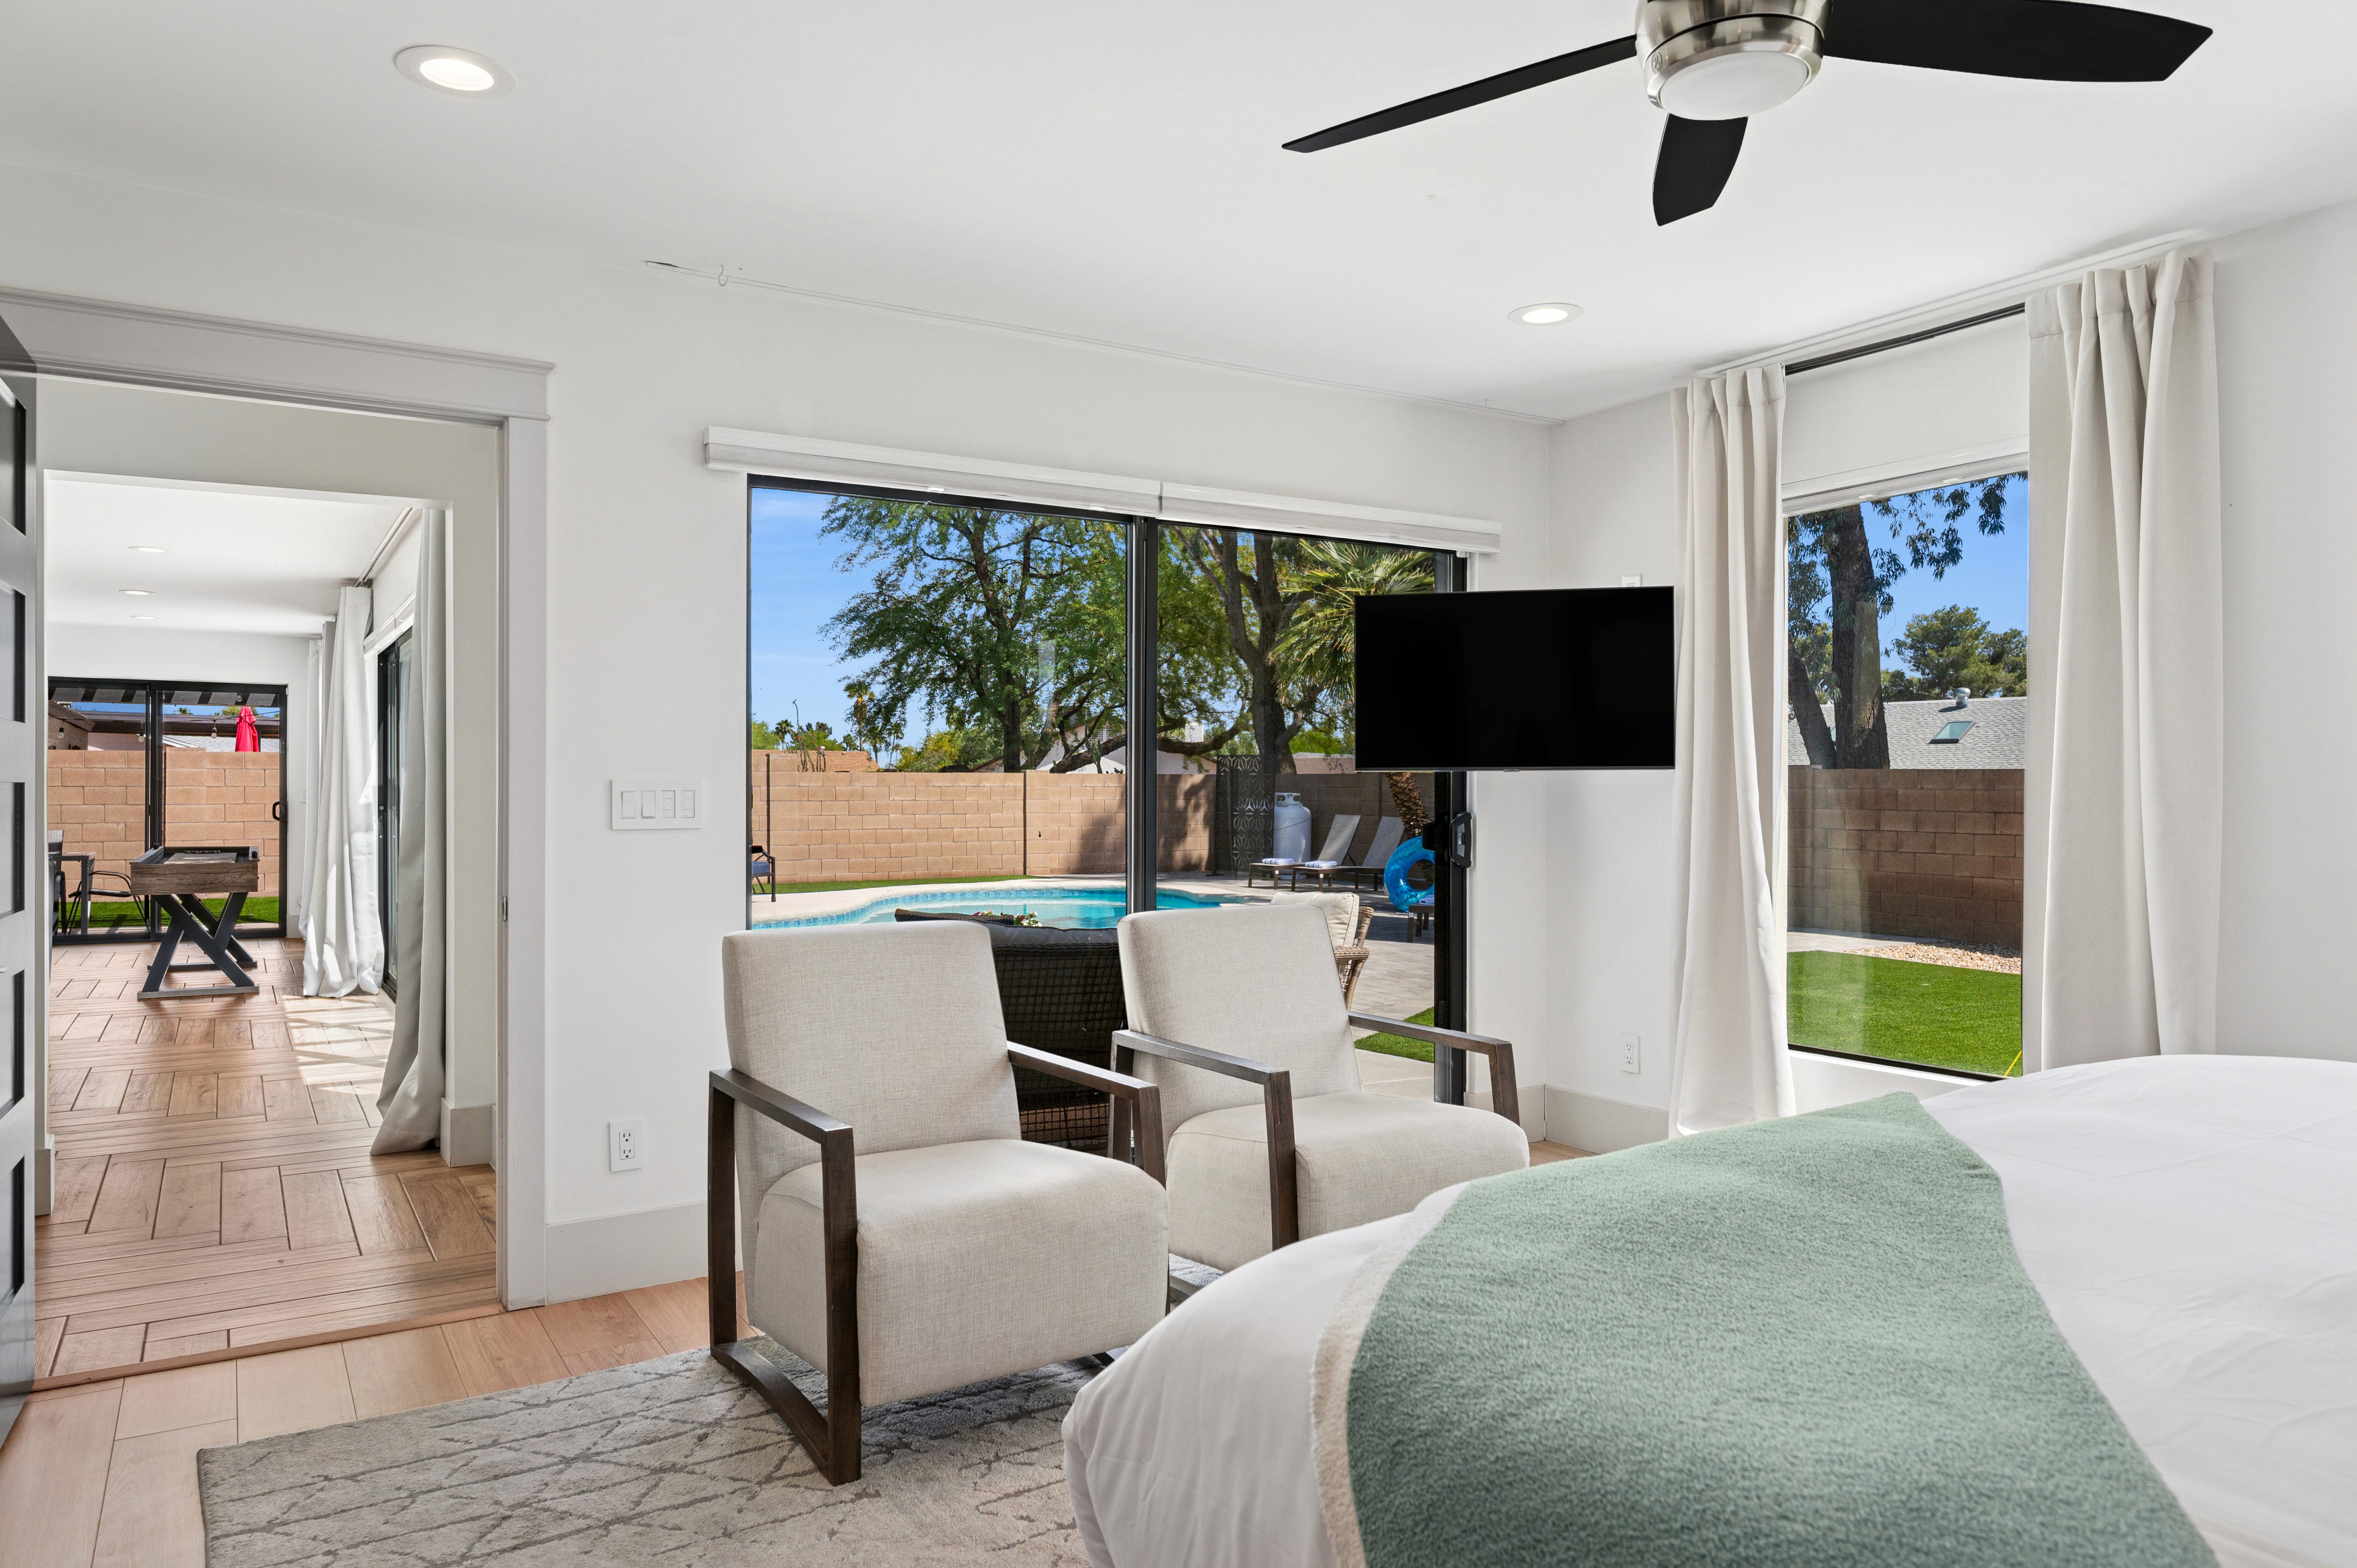
Use natural light: Natural light is the best and most versatile light source. When taking photos of a property, try to use natural light to your advantage. Well-placed natural light helps colors stay true, shows depth (through shadow interplay), and gives interiors a more welcoming, spacious feel.
Take multiple photos: When shooting a property, it’s a good idea to take multiple photos from different angles and perspectives. This will give you more options when it comes to post-processing and will help you create unique and creative images. More photo options also contribute to better buyer engagement because viewers often scroll past listings that lack variety.
Use a tripod: A tripod will help you to keep your camera steady and will help you take sharp and clear images. Sharpness not only improves perceived value but also reduces post-editing time (less blur to correct). In HDR or bracketed shots especially, camera stability is critical to avoid misalignments when merging exposures.
Adjust the white balance: White balance controls the color temperature of your photos. Adjusting the white balance prevents misrepresentation of interiors. Consistent white balance works particularly well when combining natural light with interior artificial lighting.
Shoot in RAW: Shooting in RAW format is property one of the most heard real estate photography tips. It can help you to capture more detail in your images and will give you more options when it comes to post-processing. RAW preserves highlight and shadow detail that JPEGs might lose. That extra latitude matters when scenes have both bright windows and darker corners.
Use filters: Filters can help you to create different effects in your photos and can give them a more professional look. Subtle filters (e.g., warming, cooling, gradient sky) help maintain mood and consistency across photos. Overuse of strong filters can backfire, creating unrealistic tones that damage credibility. Mixing filters with local adjustments yields better realism.
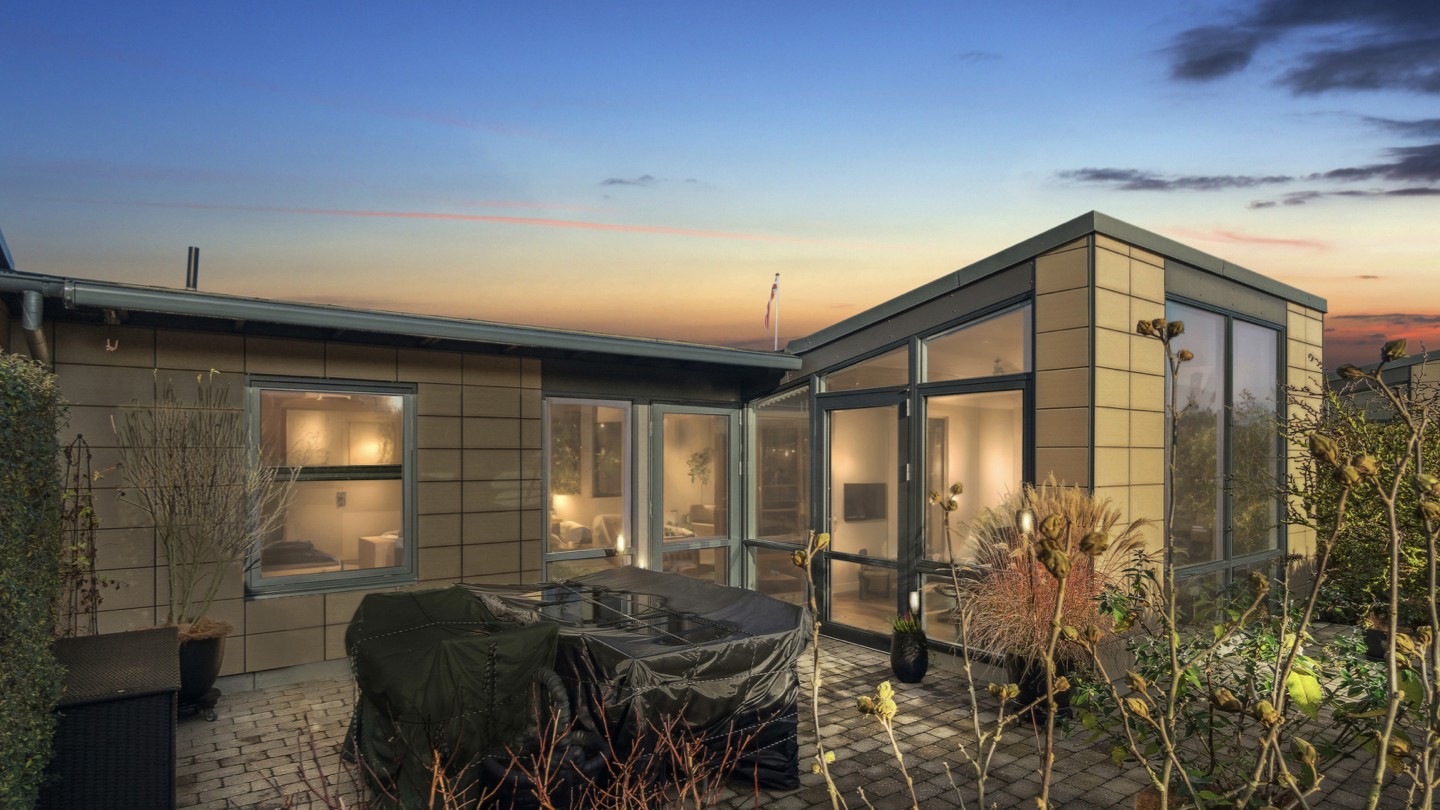
Use HDR: High Dynamic Range (HDR photo) can help you to capture more detail in your images, especially in areas of high contrast, preserving both bright viewports and interior details so neither are blown out or lost in shadow.
Take advantage of reflections: Reflections add layers and depth to photos, which can make spaces feel larger or more luxurious. Look for reflective surfaces in the property, such as mirrors, windows, and glass, and use them to your advantage. Gently used, reflections can enhance the storytelling of light and space.
Adjust exposure: To bring out detail in the shadows and highlights of your photos. Getting exposure right is critical because underexposed areas hide the details buyers want to see (e.g. interior corners, textures) and overexposed areas bleed out sky, exterior views or windows.
Adjust contrast: To bring out more detail in the mid-tones of your photos. Proper contrast helps highlight architectural details, which buyers often notice first, especially interior features like molding, cabinetry, or flooring.
Adjust saturation: To make the colors in your photos pop. Balanced saturation helps retain texture — over-saturated colors tend to flatten fine detail like brickwork, trim, or fabric weave.
Adjust sharpness: To make your photos look sharper and more detailed. When buyers see crisp edges like window frames, fixtures, decor, they interpret the property as well maintained. But over sharpened images show halos, exacerbate noise, and can feel harsh. The optimal workflow: shoot sharply (good focus, tripod) then sharpen modestly in real estate photo editing.
Use selective editing: To make small adjustments to specific areas of your photos — brightening only a window frame or subtly enhancing reflections — allow you to guide viewer attention without altering the whole photo.
Use noise reduction: Noise reduction can help you to reduce any noise or grain in your photos, resulting in cleaner and smoother images. Noise reduction tools with luminance vs color noise separation allow for cleaner editing, fixing color splotches without dulling texture.
Add a vignette: Adding a vignette can help you to draw the viewer’s eye to the center of the image. But too much vignette or using it to hide flaws can look manipulative. Keeping it soft ensures it feels natural.
Final Words
Real estate photography is an essential part of selling a property. Professional-quality photos can make a huge difference in the success of a sale. Knowing the basics of photo editing tips and post-processing can help you to create stunning images that will help you make the sale. By following these real estate photography tips, you can process professional-quality photos that will help you to make the sale.
And if you’d rather focus on growing your business while leaving the editing to the experts, our team at Esoft is here to help. With 17+ years of experience in real estate post-production, we deliver high-quality photo editing, from simple real estate photo enhancement to advanced day-to-dusk transformations, all backed by ISO-certified workflows and strict quality control. That way, every image you deliver is polished, professional, and market-ready.
📩 Let’s book a consultation with us!
Related Blogs


Linh Phan
Content Strategy Executive
No Spam, Just Updates
Our fresh blogs provide technical and industrial information that helps strengthen your business. Sign up to be the first to receive the new updates
