
Flambient lighting has become a staple for teams that care how every room looks online, from first scroll to final click. Instead of accepting blown windows or uneven color, many are turning to real estate photo enhancement services that blend ambient and flash frames into one balanced image. The result is interiors with clear detail, controlled highlights, and a look that can match brand expectations across listings. In this guide, we will cover what flambient real estate photo editing is, how it works, when to use it, and how to shoot and edit it well.
What Is Flambient and Why Is It Revolutionizing Real Estate Photography?
Definition of Flambient
Flambient combines two words: flash and ambient. In practice, it means shooting at least one natural‑light frame (ambient) and one or more flash frames of the same scene, then blending them in post‑production. The ambient shot keeps natural shadows and room mood; the flash shots correct color, lift dark areas, and add clarity.
Instead of relying on a single frame or an automated HDR merge, flambient gives you manual control over how much of each exposure appears in the final image. You decide where the room keeps soft ambient depth and where a clean, neutral flashlight takes over.
Why It Matters for Real Estate
Online, photos heavily influence who books a viewing and who scrolls past. Industry research from the National Association of Realtors reports that most buyers say listing photos shape their decision to see a property, and many will ignore homes that look artificial or have odd colors. In that context, flambient helps you:
Keep interiors bright without losing detail in windows and ceilings.
Reduce color casts from mixed light sources, so walls and finishes look accurate.
Present rooms in a way that feels close to what visitors will see on site.
For agents, photographers, and marketing teams, this adds up to images that attract more qualified interest and support brand standards for consistent, natural‑looking listings.
Flambient vs. Traditional HDR and Single‑Exposure
Single‑exposure: Quick, but rooms with bright windows and dark corners are hard to manage. You often end up choosing between blown highlights or noisy shadows.
Traditional HDR: Merges several exposures of the same scene. It can recover detail, but it frequently exaggerates halos, noise, and strange colors, especially in high‑contrast interiors.
Flambient: Starts from a natural ambient frame, then adds controlled flash where needed. You maintain realistic depth while achieving clean color, crisp detail, and smoother transitions in tricky areas like ceilings, cabinets, and window frames.
For many interiors, flambient offers a more controlled, reliable path to high‑quality results than relying only on HDR presets or single frames.
Read more: Best Real Estate Photo Editing Services for the US
How Flambient Real Estate Photo Editing Works, Step by Step
Flambient is a combination of on‑site planning and careful editing. Both parts matter if you want consistent results.
1. Capture Workflow on Site
Start with an ambient frame
Turn on or off interior lights as planned.
Shoot one well‑exposed ambient image without flash that captures natural shadows and as much window detail as conditions allow.
Add one or more flash frames
Keep the camera on a tripod so framing does not change.
Use an on‑camera or off‑camera flash, usually bounced off walls or ceilings, to brighten key areas and neutralize strong color casts.
Take one or several flash shots, depending on room size and complexity.
Optional: window pull
If the view is important, capture a dedicated exposure for the window.
Expose for the outside scene so you have a clean, usable view to blend later.
This sequence gives you a bracket: ambient + flash + optional window frames for each composition.
2. Flambient Real Estate Photo Editing Workflow
Step 1: Import and organize the bracket
Bring all frames into Lightroom or Camera Raw.
Group ambient, flash, and window exposures for each scene. Apply basic metadata and sorting.
Step 2: Align frames and choose a base
Correct lens profile, basic straightening, and crop.
Sync these across the bracket, then open them into Photoshop as layers.
Use the ambient frame as the base layer, with flash and window frames stacked above.
Step 3: Blend flash onto the ambient
Use masks and blend modes to paint flash only where it helps: walls, ceilings, cabinets, and furniture.
Keep ambient shadows in corners and under furniture, so the image does not feel flat.
Step 4: Add window exposures when needed
Mask in the window‑pull frame so the view looks clean but still natural in brightness.
Refine edges around frames, blinds, and mullions to avoid halos.
Step 5: Final color and contrast adjustments
Return to Lightroom or stay in Photoshop for finishing.
Fine‑tune white balance, contrast, and saturation so surfaces look accurate and the whole set feels consistent.
The outcome is a balanced image that respects both natural room mood and the clarity that real estate clients expect.
3. Tools Commonly Used
There are 2 popular tools used in flambient real estate photo editing process.
Lightroom / Camera Raw:
Importing, organizing, and applying global corrections such as exposure, white balance, lens profiles, and basic geometry.
Photoshop (or similar):
Layer‑based blending of ambient, flash, and window frames.
Detailed masking, edge refinement, local dodging and burning, and final cleanup.
Other tools can support this workflow, but a raw processor plus a layer‑based editor form the core of effective flambient real estate photo editing.
Read more: Transform Your Real Estate Images with the Best Photo Editing Software
When Flambient Is the Best Choice for Your Real Estate Shoots
Flambient is most effective in interiors where standard methods struggle. Consider using it when:
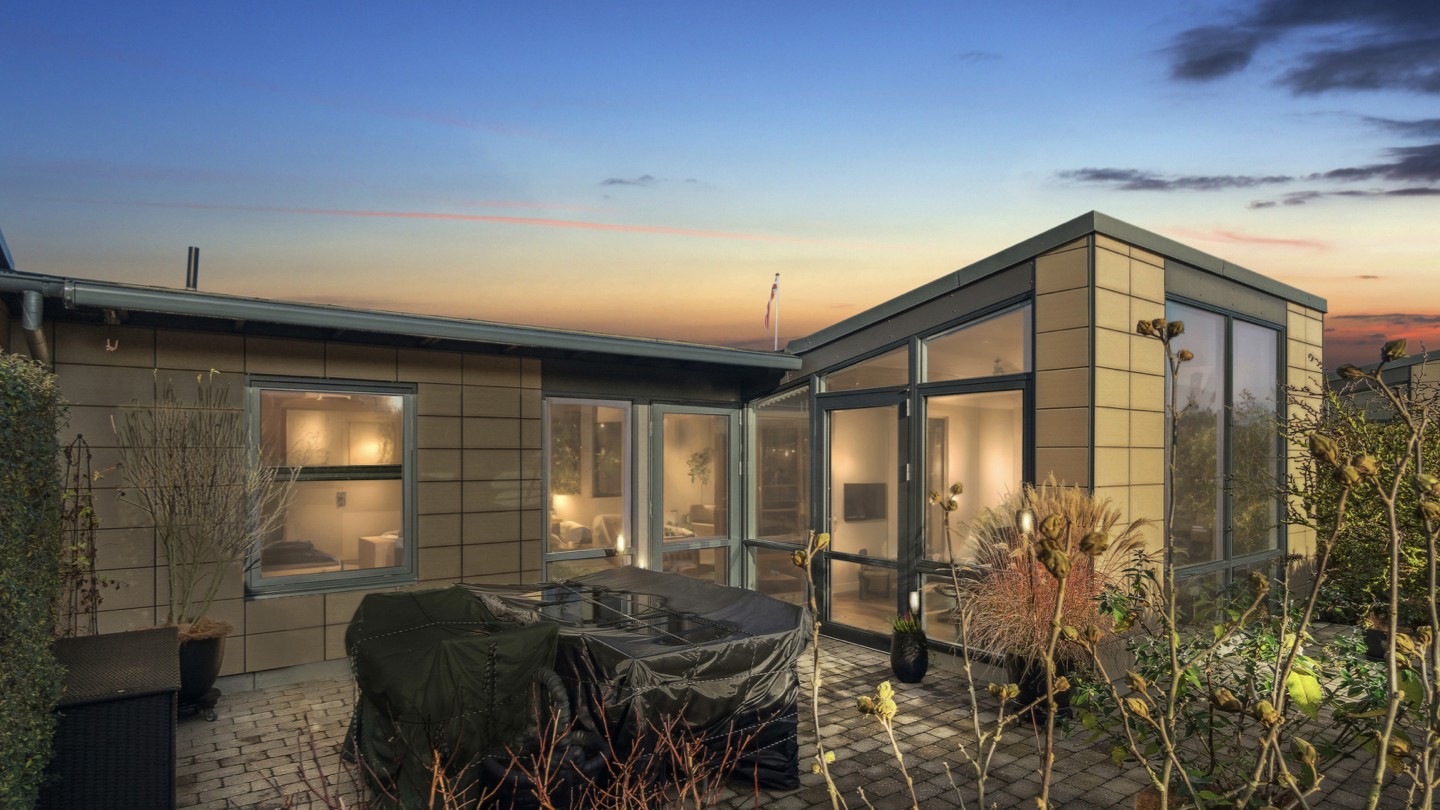
High‑contrast interiors
Rooms with large windows, strong daylight, or deep corners often push a single exposure or basic HDR too far. Flambient keeps the ceiling and window detail while lifting shadows.
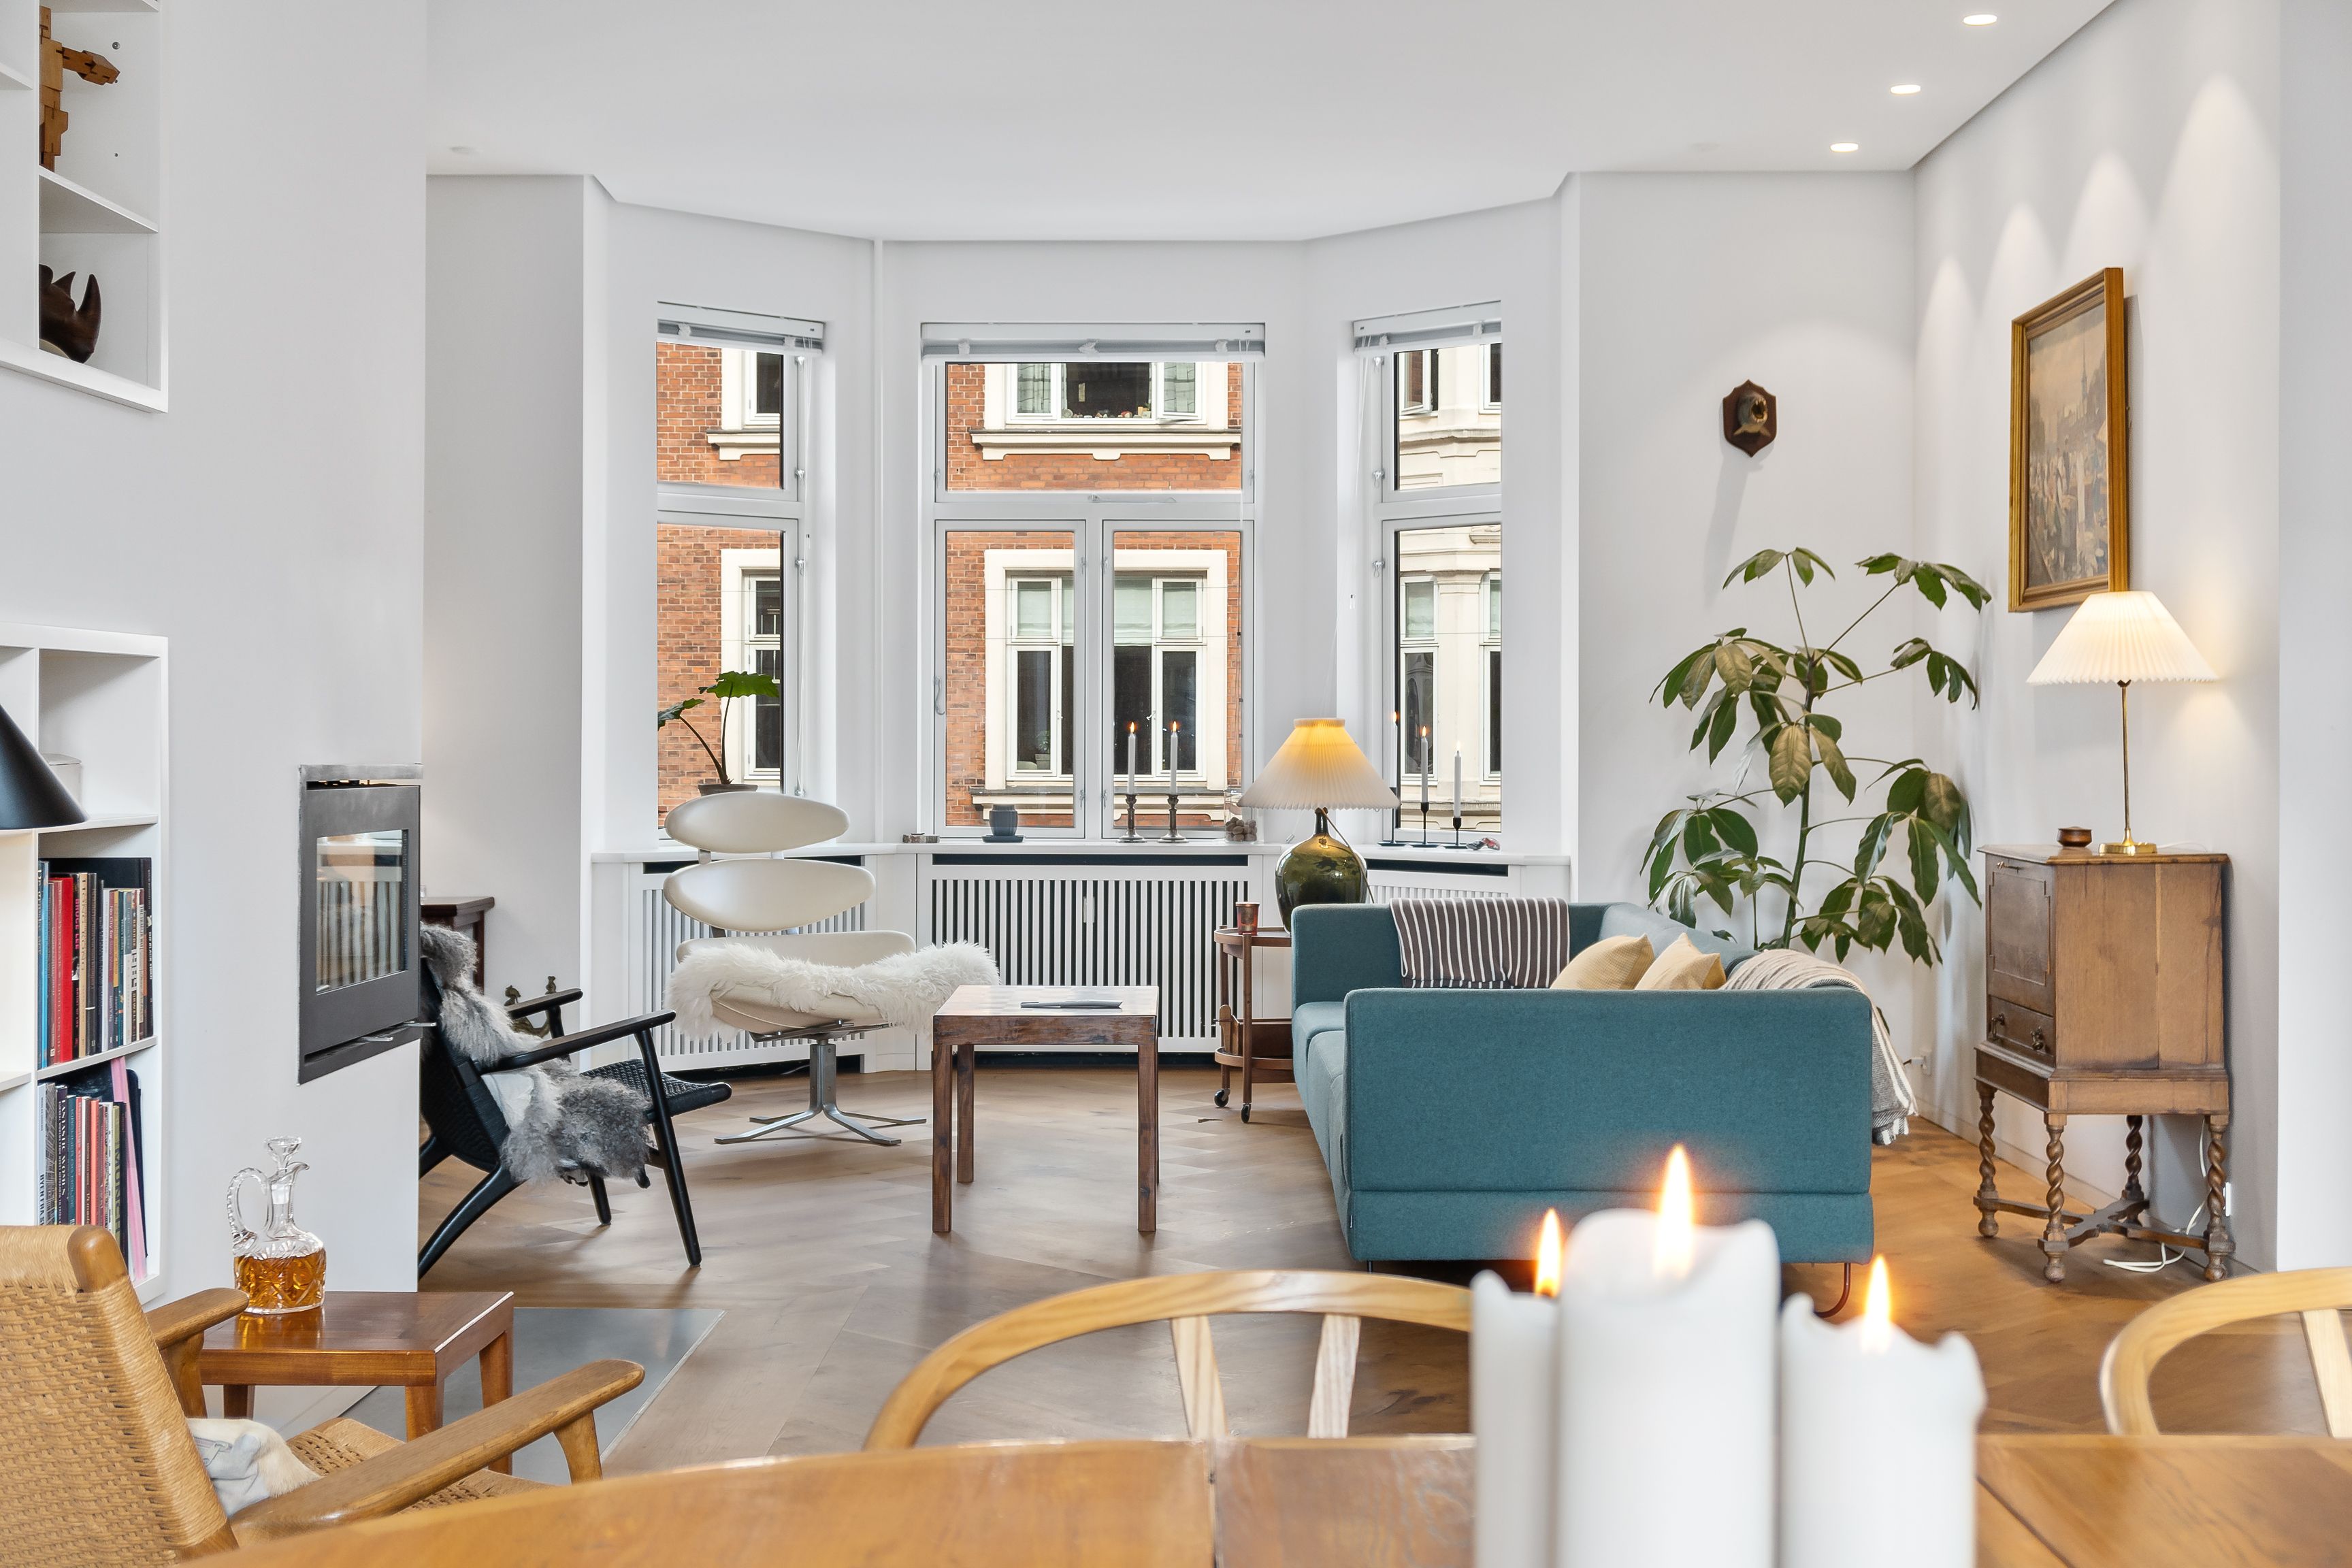
Spaces with mixed light sources
Kitchens and living rooms often combine tungsten, LED, and daylight. Flambient gives you a cleaner, more neutral color so walls, cabinets, and fabrics do not shift between frames.
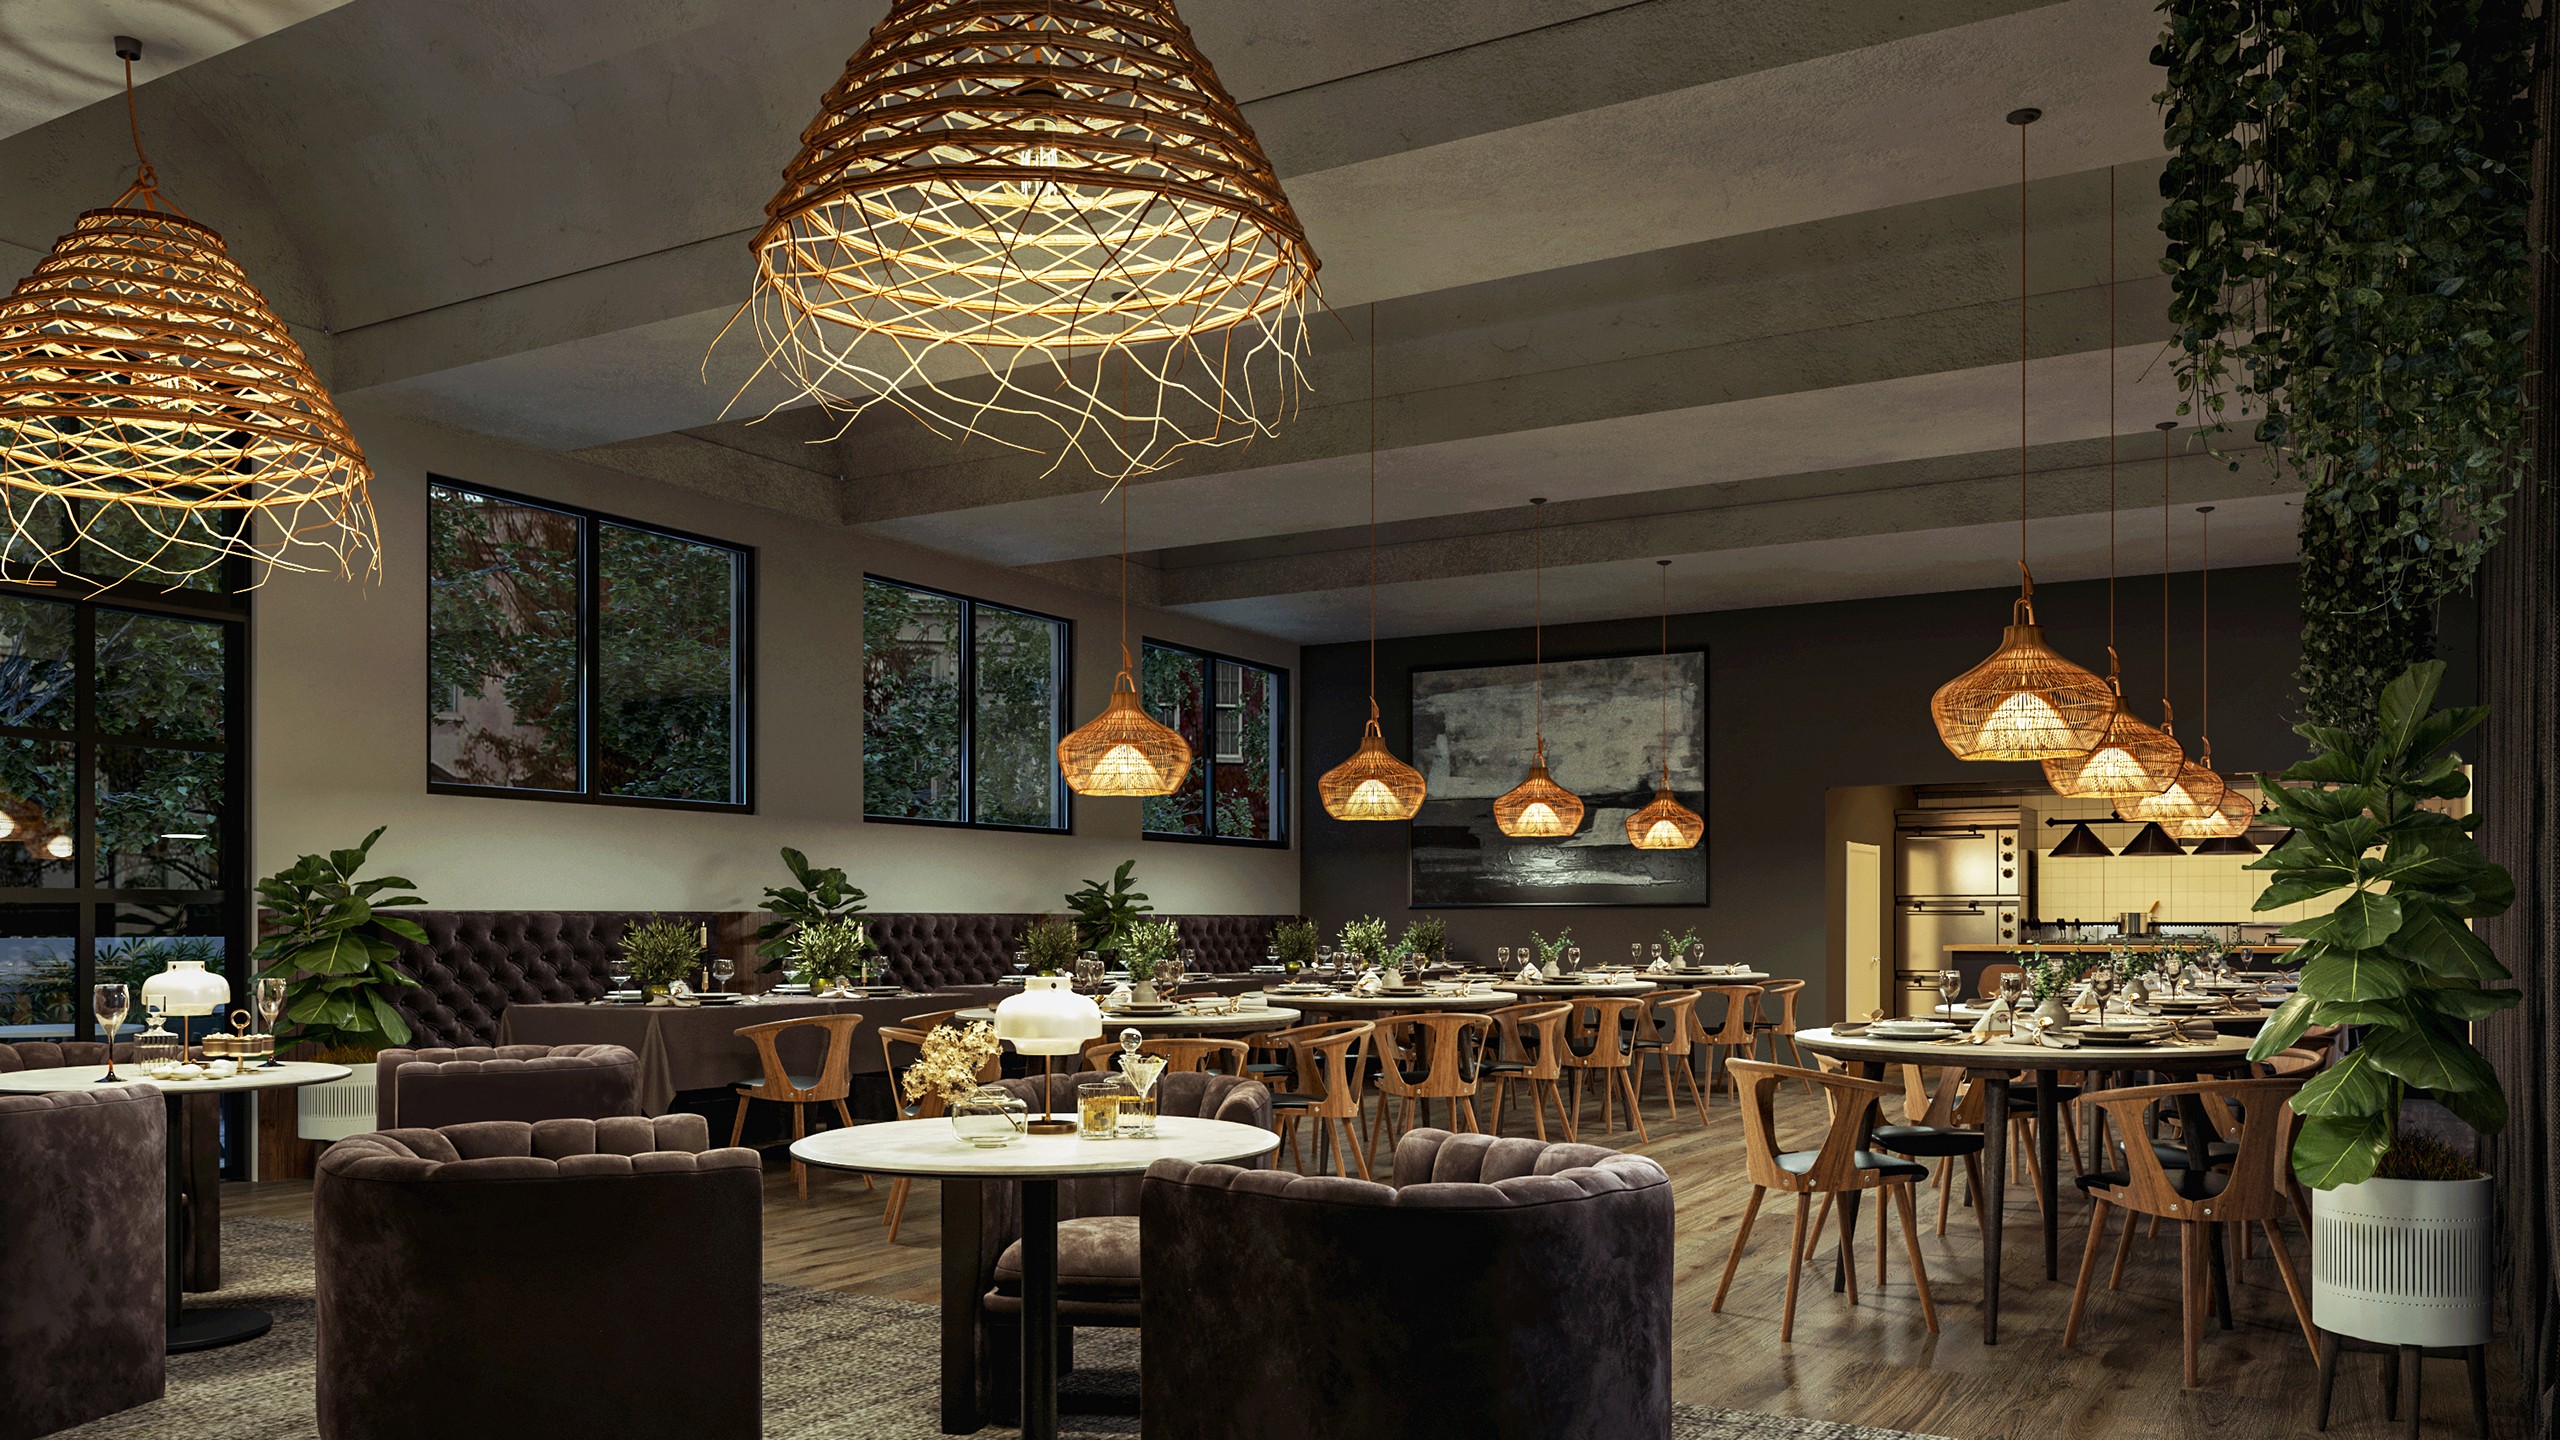
Premium listings and design‑focused spaces
Luxury homes, styled show units, and portfolio projects need accurate color, smooth tonality, and refined detail. Flambient supports that higher standard across full sets.
Challenging colors and materials
Glossy counters, dark cabinets, and bold wall colors can react badly to automated HDR. Controlled flash blending lets you hold texture and avoid strange reflections or muddy tones.
When a brand demands a consistent, high‑end look
Brokerages, developers, and designers often want one visual style across different photographers and markets. Flambient offers a repeatable capture and editing approach that helps teams deliver stable results over time.
Pro Tips for Shooting and Editing Flambient Real Estate Photos
On‑Site Shooting Tips
Use a tripod so ambient, flash, and window frames align cleanly in post.
Keep framing identical between shots; avoid touching zoom or height once the series starts.
Aim flash carefully, usually bouncing off ceilings or nearby walls, to spread light and reduce harsh hotspots.
Control practical lights by turning off fixtures that clash with your plan, or decide deliberately which ones stay on to match the story of the room.
Exposure and White Balance
Expose ambient for windows or overall balance, then rely on flash frames to brighten interiors and refine color.
Keep a consistent white balance across the full sequence, either set a manual Kelvin value or use a reliable preset, so blending is faster and more predictable.
Smart Blending Techniques
Use layer masks in Photoshop (or similar software) to brush flash in only where needed: walls, ceilings, furniture, and important features.
Protect ambient depth by leaving natural shadows in corners and under furniture; this avoids a flat or overly flashed look.
Lower layer opacity or soften brush edges when flash areas feel too strong.
Final Polish in Editing
Straighten verticals and correct perspective so walls and door frames look stable and professional.
Refine color until walls, ceilings, floors, and key finishes look accurate and consistent from image to image.
Apply subtle sharpening and noise reduction to keep textures clear without making surfaces look overly processed.
Check the full set together before delivery to ensure brightness, contrast, and color balance match across the listing.
Read more: Real Estate Photo Editing Companies USA: Adapting To The Fast-Paced Market
Esoft: Professional Support for Flambient Real Estate Photo Editing
With 20+ years of experience in real estate imagery, Esoft supports agents, brokerages, and photographers who rely on flambient to keep interiors bright, accurate, and consistent across full listings. Our teams handle ambient–flash brackets at scale, aligning frames, blending layers, and refining color so you get clean results without adding extra hours to your own workflow.
A hybrid AI–human setup speeds up base corrections while experienced editors and QA maintain control over masking, window pulls, and final polish, even when volumes increase or campaigns run in multiple markets.
Our key services include:
Photo enhancement
Photo retouching
Virtual dusk
Social media photo editing
Wrap Up
Flambient real estate photo editing gives you a dependable way to handle difficult interiors, mixed light sources, and design‑driven spaces. With planned ambient and flash capture on site, then careful blending and color work in post, you can keep natural depth while improving accuracy, window detail, and consistency across every listing. As volume increases or brand standards tighten, having a specialist team helps you maintain that level of quality without adding pressure to your schedule. To discuss how our photo editing services could support your business, connect with Esoft!
Related Blogs
Virtual decluttering in real estate photo editing
Photo Editing
Flambient Real Estate Photo Editing: A Complete Guide for Perfect Lighting
Photo Editing
Commercial real estate photo editing: What's the difference?
Photo Editing

Fast real estate photo editing: The new standard of turnaround time and quality
Photo Editing


Linh Phan
Content Strategy Executive
No Spam, Just Updates
Our fresh blogs provide technical and industrial information that helps strengthen your business. Sign up to be the first to receive the new updates
