
A video is good, but an edited one is what turns a quick look into real interest. In today’s market, property video editing shapes how buyers experience space, light, and lifestyle long before a showing. If you are already filming tours, neighborhood clips, or drone footage, refining how you edit can unlock better engagement and stronger results from the same material. In this guide, you will explore the core benefits of professional editing, a practical workflow, five advanced tips for 2026, and when it makes sense to hand editing off to a specialist.
Key Benefits of Professional Property Video Editing
When you treat property video editing as a core part of your marketing, it supports both your brand and your sales pipeline.
Stronger first impressions and brand perception
Well‑structured videos make listings feel organized, clear, and intentional. Smooth movement, logical sequencing, and clean framing help viewers focus on the home instead of rough cuts or shaky footage. Over time, this raises expectations about the level of service and attention clients can expect from you.
Higher engagement and watch time
Editing choices influence how long people stay with your content. Tight openings, focused shots, and a clear flow from room to room reduce drop‑off. When viewers reach the end of a video more often, they retain more details about the property and are more likely to return to the listing or share it.
Better storytelling about the property and neighborhood
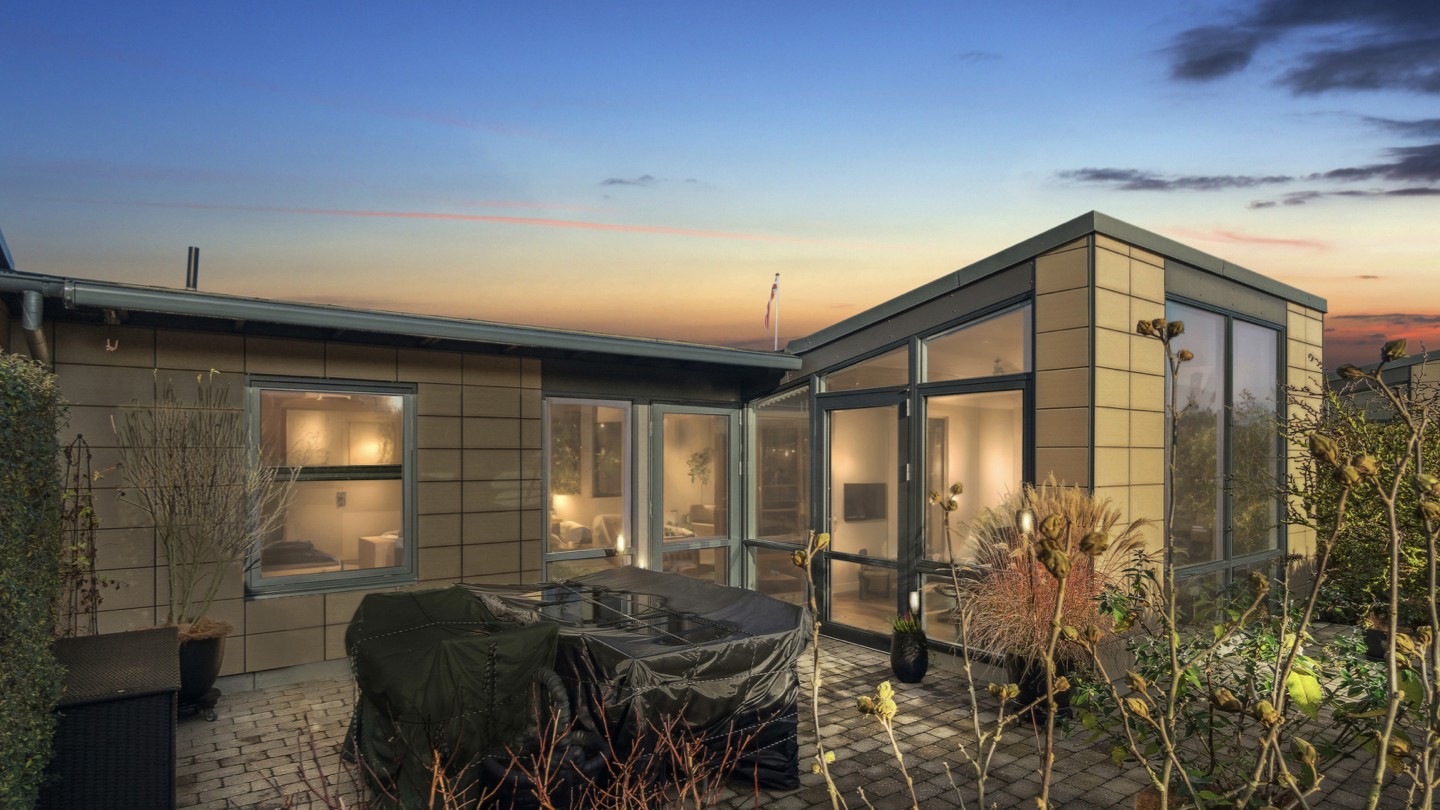
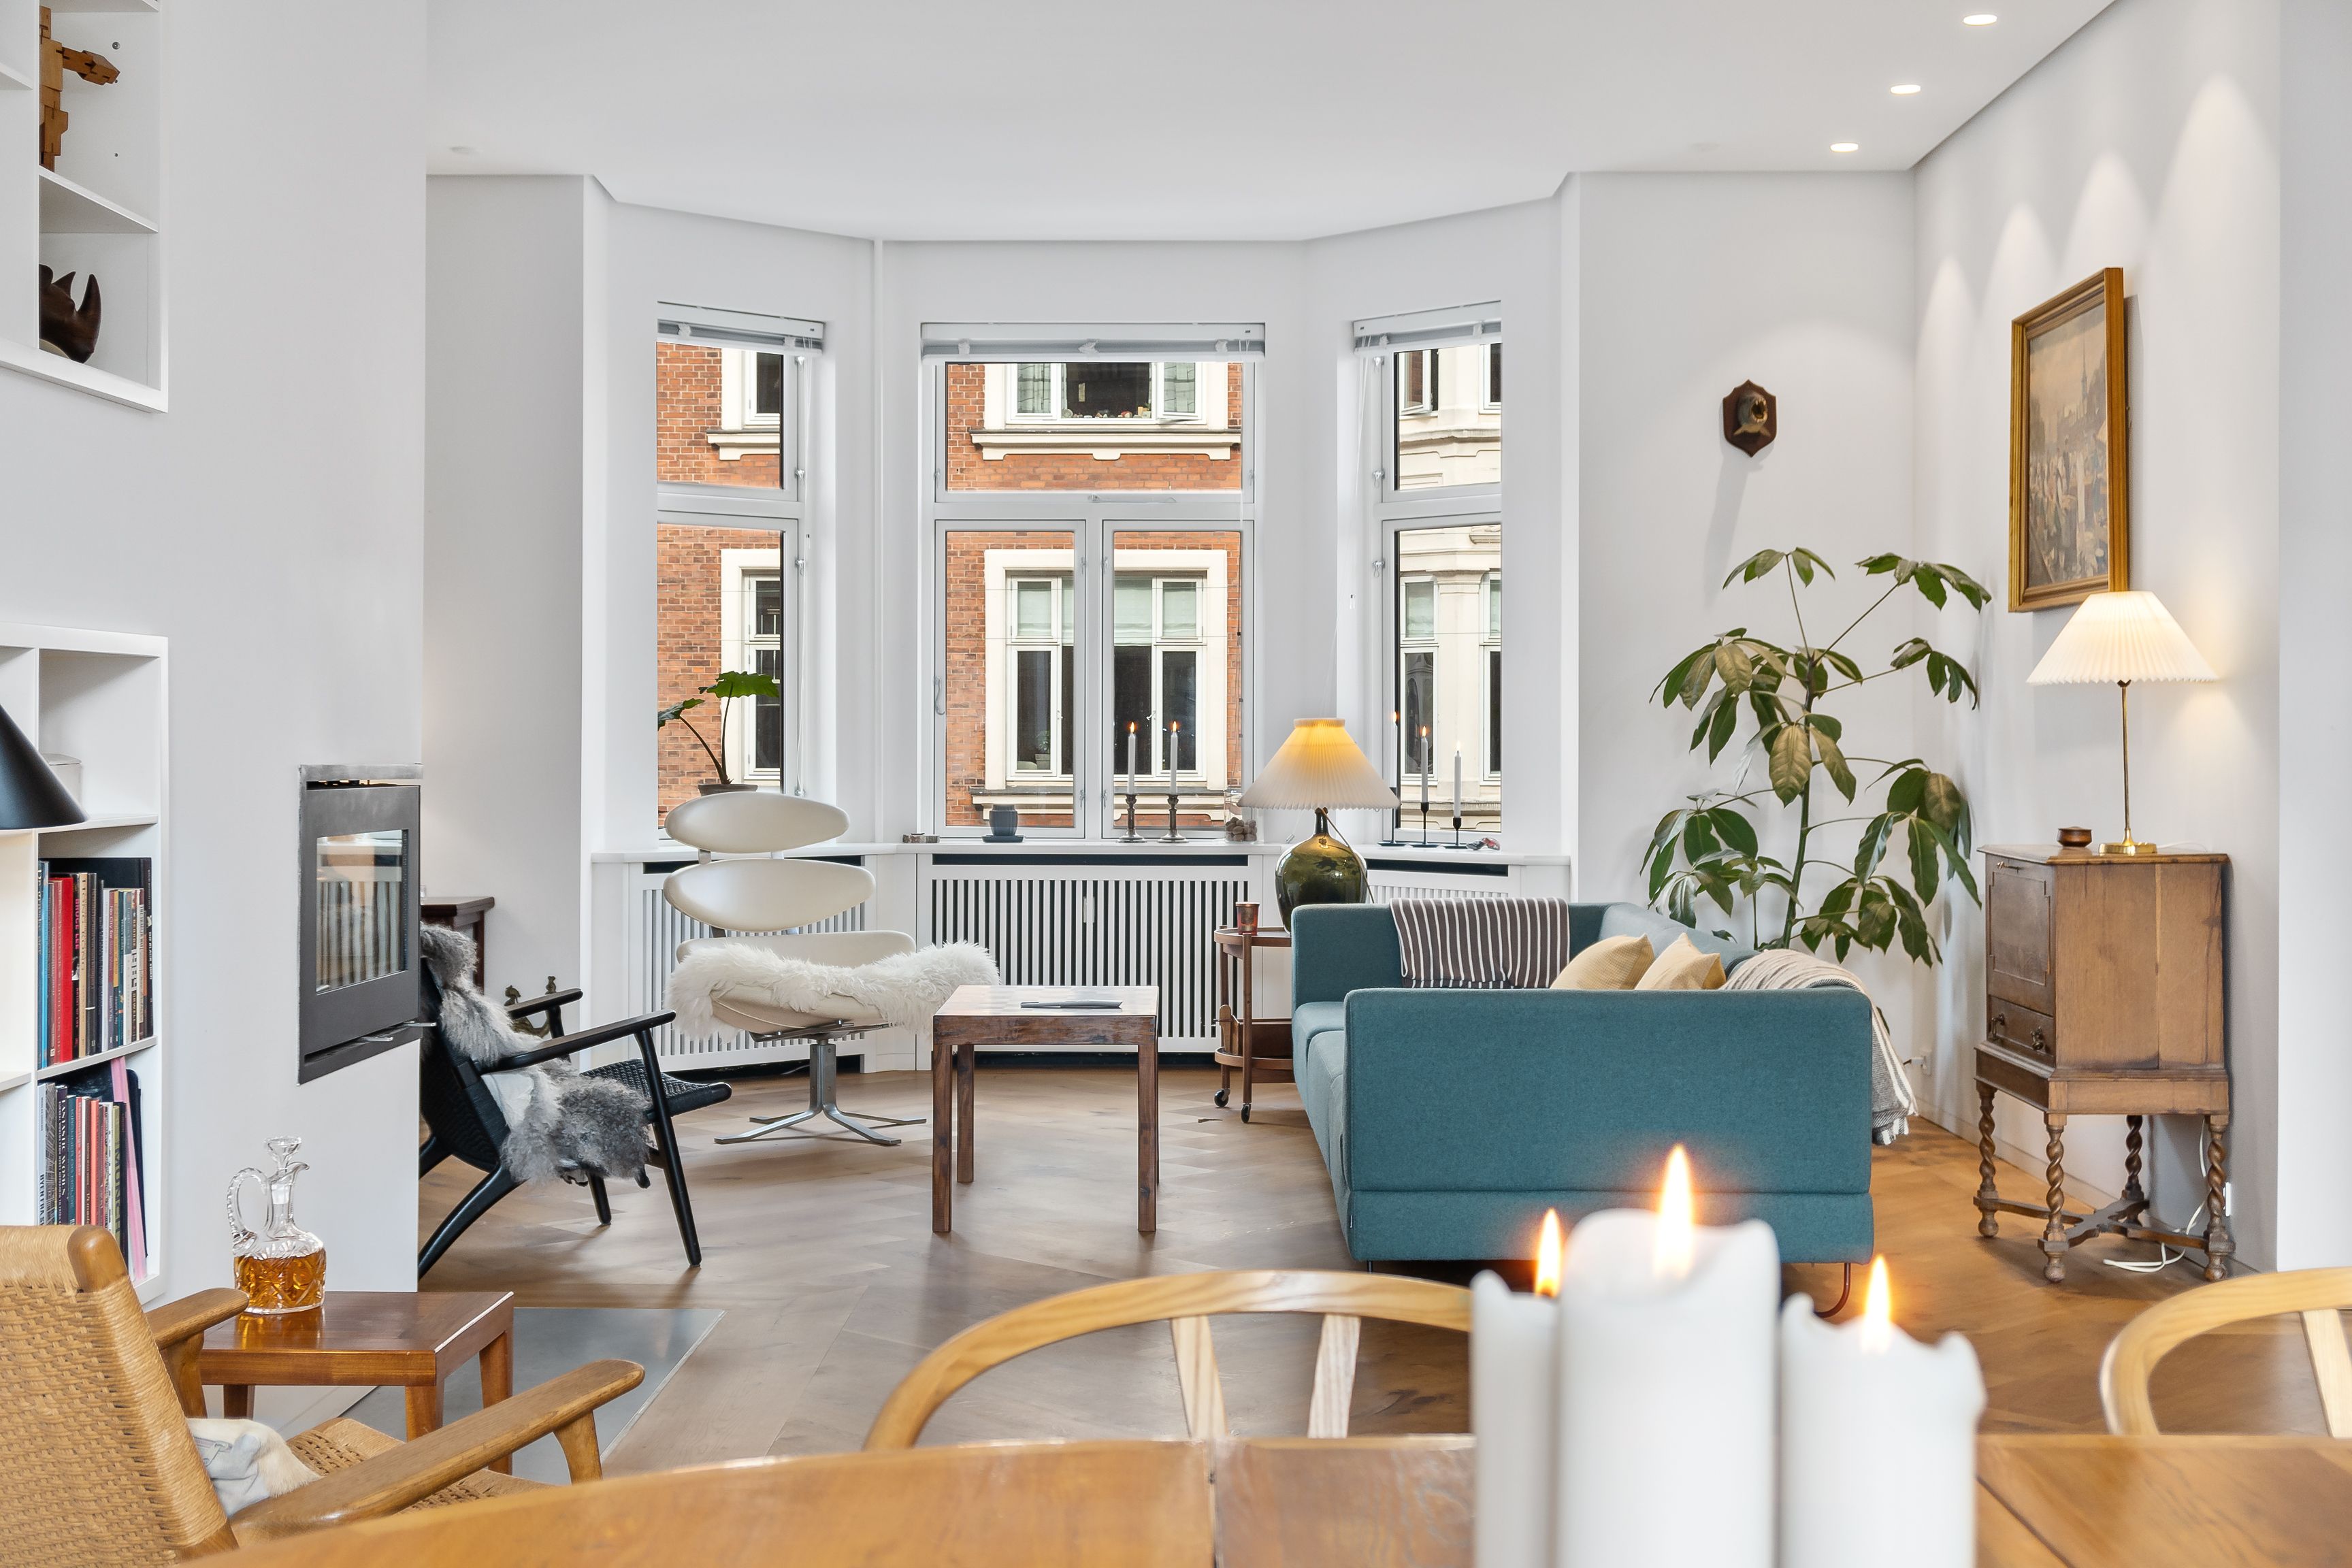
Editing lets you guide buyers through a story instead of just showing disconnected clips. You can reveal the entrance, lead them through key living spaces, highlight outdoor areas, and close with neighborhood scenes that support the lifestyle you are promoting. This structure answers common questions about layout, light, and surroundings before a showing.
Ability to repurpose content across channels
A strong base edit can serve as the source for many outputs. From one timeline, you can generate a long‑form tour for your website, a shorter cut for listing portals, and multiple short clips for social feeds and ads. That makes each shoot and each editing session more productive across your marketing.
Increased inquiries, showings, and faster sales cycles
When buyers can understand layout, finishes, and context clearly from video, they filter themselves more effectively. The people who book viewings are often better aligned with the property, which can result in more focused showings and fewer surprises. That environment supports clearer decisions and smoother negotiations.Steps to Editing Property Videos Efficiently
A simple, repeatable workflow keeps projects moving, even when you are handling multiple properties at once.
Read more: Top 5 real estate video editing services that can boost listings
Organize and Back Up Your Footage
After every shoot, copy all cards to at least two separate drives or locations. Use a naming pattern that includes date, property address, and media type (for example: 2026-03-10_123-Main-St_Drone). Inside each project folder, separate raw footage, music, graphics, and exports. This reduces searching time and protects you from data loss.
Select the Best Clips and Build a Rough Cut
Watch all footage once to get a sense of what you have. Mark the most stable, well‑framed, and well‑lit shots. Pull only those selects onto your main timeline. Build a rough cut that follows a buyer‑friendly path: exterior and approach, entry, main living area, kitchen, bedrooms, bathrooms, outdoor spaces, and any amenities or neighborhood scenes that matter.
Fine-Tune Pacing and Add Transitions
Go through the rough cut and tighten every clip. Remove uneasy starts, end frames where movement stops, and any moments where the camera hesitates. Aim for clips that show one clear idea. Use straight cuts as your default and keep transitions simple, limited to gentle dissolves where you shift scenes or change time of day. This keeps the video smooth and easy to follow.
Apply essential property video editing techniques
Check horizontals and verticals so walls, door frames, and horizons look stable. Remove shots that swing too fast or create dizziness. Use stabilization tools carefully to reduce shake without creating a wobbly effect. Mix wide shots that explain the room with medium and detail shots that show finishes, views, and key selling points. Avoid repeated angles that do not add new information.
Apply Color Correction and Basic Grading
Start with exposure and contrast so spaces look bright without losing detail in windows or shadows. Adjust white balance so interior light feels natural and skin tones look correct in any agent or presenter shots. Once clips are corrected, apply a light grade or look that unifies the set. Keep the grade subtle so rooms still resemble what buyers will see during a visit.
Add Titles, Text Overlays, and Branding
Create a short opening title with the property address, basic facts, and your logo. Add lower‑thirds or small text overlays to highlight features such as square footage, number of bedrooms, or special amenities. Place branding in a consistent location, using the same colors and fonts across all videos. Keep text clear and minimal so the property remains the main focus.
Read more: Top Features to Look for in a Real Estate Video Maker: A Comprehensive Overview
Mix Music, Ambient Sound, and Voiceover
Choose music that fits the property type and target audience, and confirm that usage rights are in place. Balance levels so music supports the video instead of overpowering it. When you use voiceover or spoken segments, make sure speech is clear and easy to understand on both speakers and mobile devices. Use ambient sound from the property when it adds value, for example a quiet garden or soft city background.
Export in Multiple Formats (Horizontal, Vertical, Social)
Once the main edit is approved, export a high‑quality master file. From there, create versions optimized for each channel: a horizontal file for websites and listing portals, vertical cuts for Reels and Shorts, and shorter teaser clips for social placements or ads. Use file names that clearly show the format and purpose, such as 123-Main-St_FullTour_16x9 or 123-Main-St_Reel_9x16_30s, so the right version reaches the right platform.


5 Pro Tips to Master Property Video Editing in 2026
These advanced tips help you move from basic editing to polished, high‑impact property videos that match current viewing habits.
1. Leverage AI Tools for Speed and Batch Processing
Use AI‑enabled tools to handle repetitive work: rough cutting, clip sorting, stabilization, basic color matching, and auto‑captions. Set clear presets for real estate projects so you can batch process footage from multiple properties. This frees your time for decisions that need human judgment, such as shot selection, story flow, and final grading.
2. Use the “1-Second Rule” for More Dynamic Pacing
When reviewing your timeline, check that every second of video adds clear value. If a moment does not show new information or support the story, shorten or remove it. For many interior shots, three to five seconds is enough. This “1‑second rule” mindset keeps pacing tight, reduces viewer drop‑off, and makes videos feel focused and intentional.
3. Master Vertical Storytelling for Social Platforms
Plan edits specifically for vertical formats instead of just cropping a horizontal tour. Frame key shots so important details sit in the center of the frame, use text and captions that are readable on small screens, and structure vertical videos with strong openings in the first two seconds. Build short, self‑contained stories that work even when viewers watch with the sound off.
4. Prioritize Authentic, Natural Color Grading Over Perfection
Aim for a clean, consistent look that reflects how the property feels in reality. Avoid heavy filters, extreme saturation, or dramatic color shifts that misrepresent finishes or light. Focus on even exposure, accurate white balance, and gentle contrast. Consistent, believable color builds trust and reduces disappointment during in‑person showings.
5. Curate Immersive Soundscapes
Treat audio as a core part of the viewing experience. Choose music that fits the pace and style of the property, keep levels steady, and avoid abrupt changes between tracks. Where possible, layer in subtle ambient sounds from the home or neighborhood to create a sense of presence. Clear narration or on‑screen text can then guide viewers without fighting the background audio.
Read more: Why Do Businesses Need Videos In Real Estate?
When to Outsource Property Video Editing?
There comes a point where partnering with a specialist brings more value than trying to do everything in‑house.
You have more listings and shoots than you can reasonably edit on your own.
You need consistent quality and branding across many agents, offices, or markets.
You want advanced motion graphics, polished templates, and multiple social media versions for each video.
You prefer to spend your time on selling, client care, and strategy rather than long editing sessions.
When these signs start to show up together, it is a good time to explore a dedicated property video editing partner.
How Esoft Supports Your Property Video Editing in 2026
Esoft works with real estate brands and media companies that handle regular volume and want reliable, high‑quality video output. With more than 20 years focused on property visuals across the US, Europe, and Australia, the team understands listing workflows, seasonal peaks, and the need for consistent branding across many agents and offices.
Editing runs on a flexible setup that supports both speed and detail. A hybrid AI‑plus‑editor flow manages repetitive tasks and batch processing, while experienced real estate editors shape pacing, structure, and color so each property feels clear and accurate. For key listings and brand projects, fully manual, craft‑level editing gives closer control over every scene.
Our property video editing services include:
Property tour and walkthrough videos
Aerial and drone edits
Agent and brand videos
Social‑first vertical and short‑form content
Parallax slideshows built from still photos
Conclusion
Property video editing now plays a direct role in how buyers see space, lifestyle, and value when they first discover a listing. With a clear workflow, smart use of AI, dynamic pacing, natural color, and immersive sound, you can turn each shoot into a set of assets that perform across multiple channels. When your volume grows or you need consistent, on‑trend output for many agents and offices, working with a specialist becomes practical. If you want to explore how Esoft can support your property video editing in 2026, contact our team.
Related Blogs


Linh Phan
Content Strategy Executive
No Spam, Just Updates
Our fresh blogs provide technical and industrial information that helps strengthen your business. Sign up to be the first to receive the new updates
