
If your photography team recently jumped into shooting property videos, you know it’s a completely different form of art. Real estate video production requires approaches and techniques that most photographers don’t get right from the get-go. However, with the right workflow and a clear checklist, they can pick up videography skills surprisingly quickly. Just a couple of months of shooting, and many are capable of producing amazing footage.
This guide breaks down exactly what you need — from gear setup to shooting flow, editing prep, and pro tips — so you can speed up your learning curve. Here is your ultimate starter blueprint for shooting property videos with confidence.
1. Types of Real Estate Video Production
There are different real estate video production options you can offer (or explore yourself). Each format plays a different role depending on the property, the audience, and the budget. Here are the main ones on the market:
Property Tour
This is the classic. Think of it as walking someone through the house without them physically being there. Viewers move from room to room with ground-level footage, sometimes elevated with drone shots to showcase the exterior or framed with an agent intro and outro to add personality. A good property tour feels immersive, giving buyers a sense of flow, scale, and atmosphere they can’t get from photos alone.
Slideshow
Not every listing needs a full cinematic real estate video production, and that’s where slideshows come in. Believe it or not, slideshows still hold value, especially when budgets are tight. You can turn your best property photos into mini videos that highlight key features in a curated, dynamic way without the added effort of filming. With this solution, you’re offering realtors a cost-effective alternative to walkthroughs and drone videography and still a professional showcase.
Social Media
Then there are the short, snappy clips made for Instagram, TikTok, or Facebook. These are fast-paced, creative, and designed to stop people mid-scroll. It could be a virtual timelapse of a sunset view from the balcony, a teaser reel that shows just enough to spark curiosity, or even a one-shot walk through the home. Social videos are less about showing everything and more about grabbing attention and sparking interest.
For real estate photographers, the value isn’t just in shooting video it’s in knowing which type best serves the agent’s goals. Tours sell immersion, slideshows sell efficiency, and social clips sell attention. The key is knowing when to use which, and sometimes, combining them for maximum impact. From there, you can show off your expertise and creativity. Each real estate video production format requires slightly different skills and mastering them makes you indispensable.
Read more: Why Video Is Becoming the Core of Every Listing Strategy in 2026
2. Real Estate Video Production Checklist
Get the Right Gear
Your equipment doesn’t need to be Hollywood-level, but it does need to be reliable and suited for real estate. At a minimum, here’s what you’ll need in your toolkit for real estate video production:
Camera: A DSLR or mirrorless camera capable of shooting in 1080p (Full HD)
Lens: A wide-angle lens between 16mm–24mm (full-frame equivalent) with f/2.8–f/4 aperture. This range helps you capture more of the room without heavy distortion
Gimbal and Stabilizer: A gimbal or stabilizer is essential to keep your footage smooth. Depending on the weight of your camera and lenses, choose the right model. Popular choices include DJI Ronin (M, S, SC), Zhiyun Crane 2 or Weebill S and FeiyuTech
Tripod or Slider: Not mandatory, but highly recommended for detail and insert shots
Adjust the Camera Settings
The settings can make or break the final output. Professionals typically rely on these starting points:
Resolution & Frame Rate: Shoot in 1080p at the highest frame rate available. 50p or 60p would be best for slow motion shots
Shutter Speed: Set it at least 2× your frame rate (e.g., 1/50 or 1/100 to prevent flickering)
White Balance: Manually set between 3000K–5600K depending on lighting. Don’t use auto white balance as it will make it super-duper hard to edit your videos
Shooting Angle: Stick to eye level when possible; this creates a more natural viewing perspective for the audience
Image Profile: Use a flat image profile with low contrast (if possible). If you’re shooting LOG, expose slightly to the right (1–2 stops over), keep your ISO as low as possible, clip the highlight not the shadow, and always check your sharpness before moving on
Build Your Shot List
One of the biggest rookie mistakes in real estate video production is shooting “randomly” and realizing later that you don’t have enough clips to build a smooth walkthrough. Professionals always work from a shot list. Below is a simple template to start with:
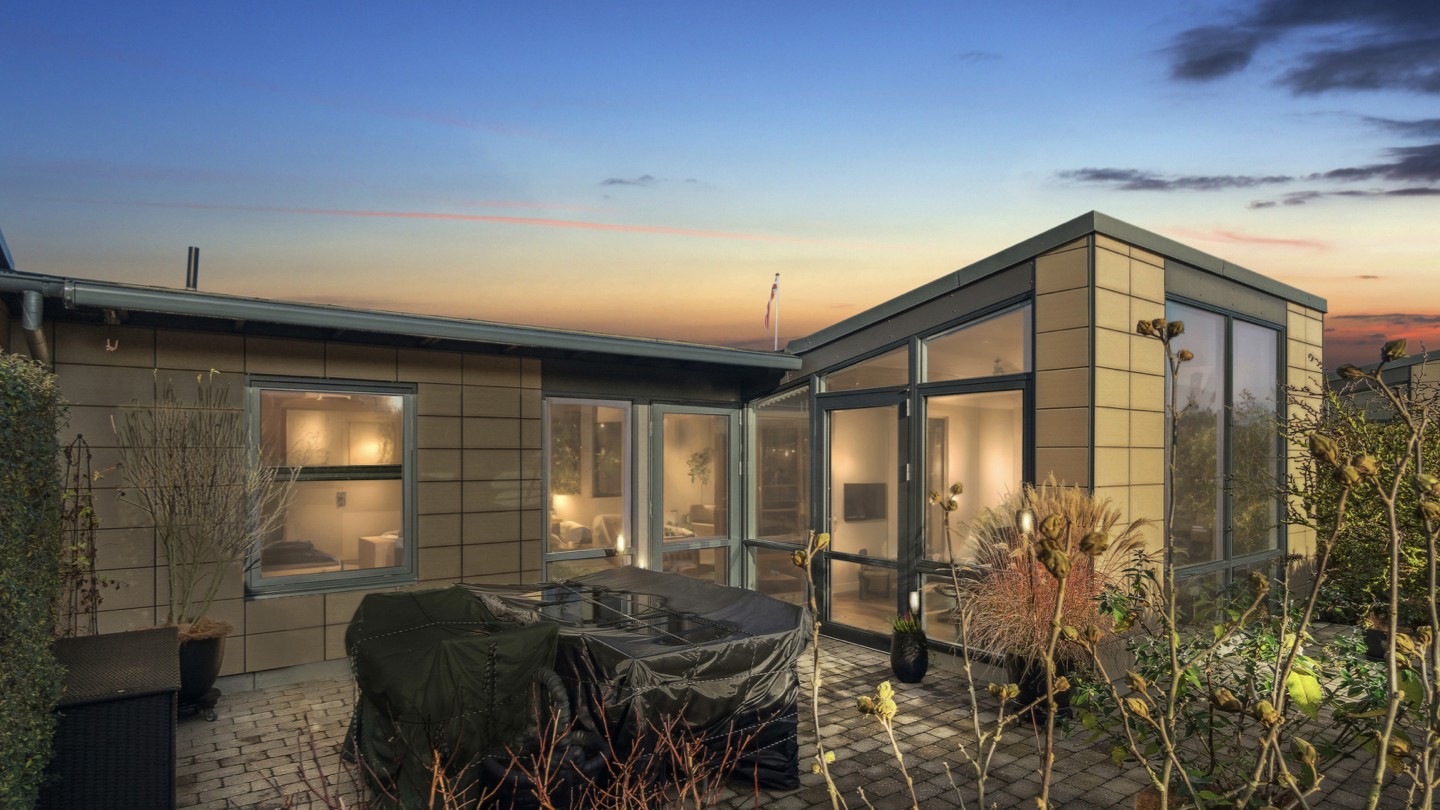
Outdoor shots
The house’s facade: try shooting from different angles if possible
Walk from street to door
Opening door
Backyard, walk around the garden, view of the house from the backyard
Backyard and garden shouldn't be left out in your shot list
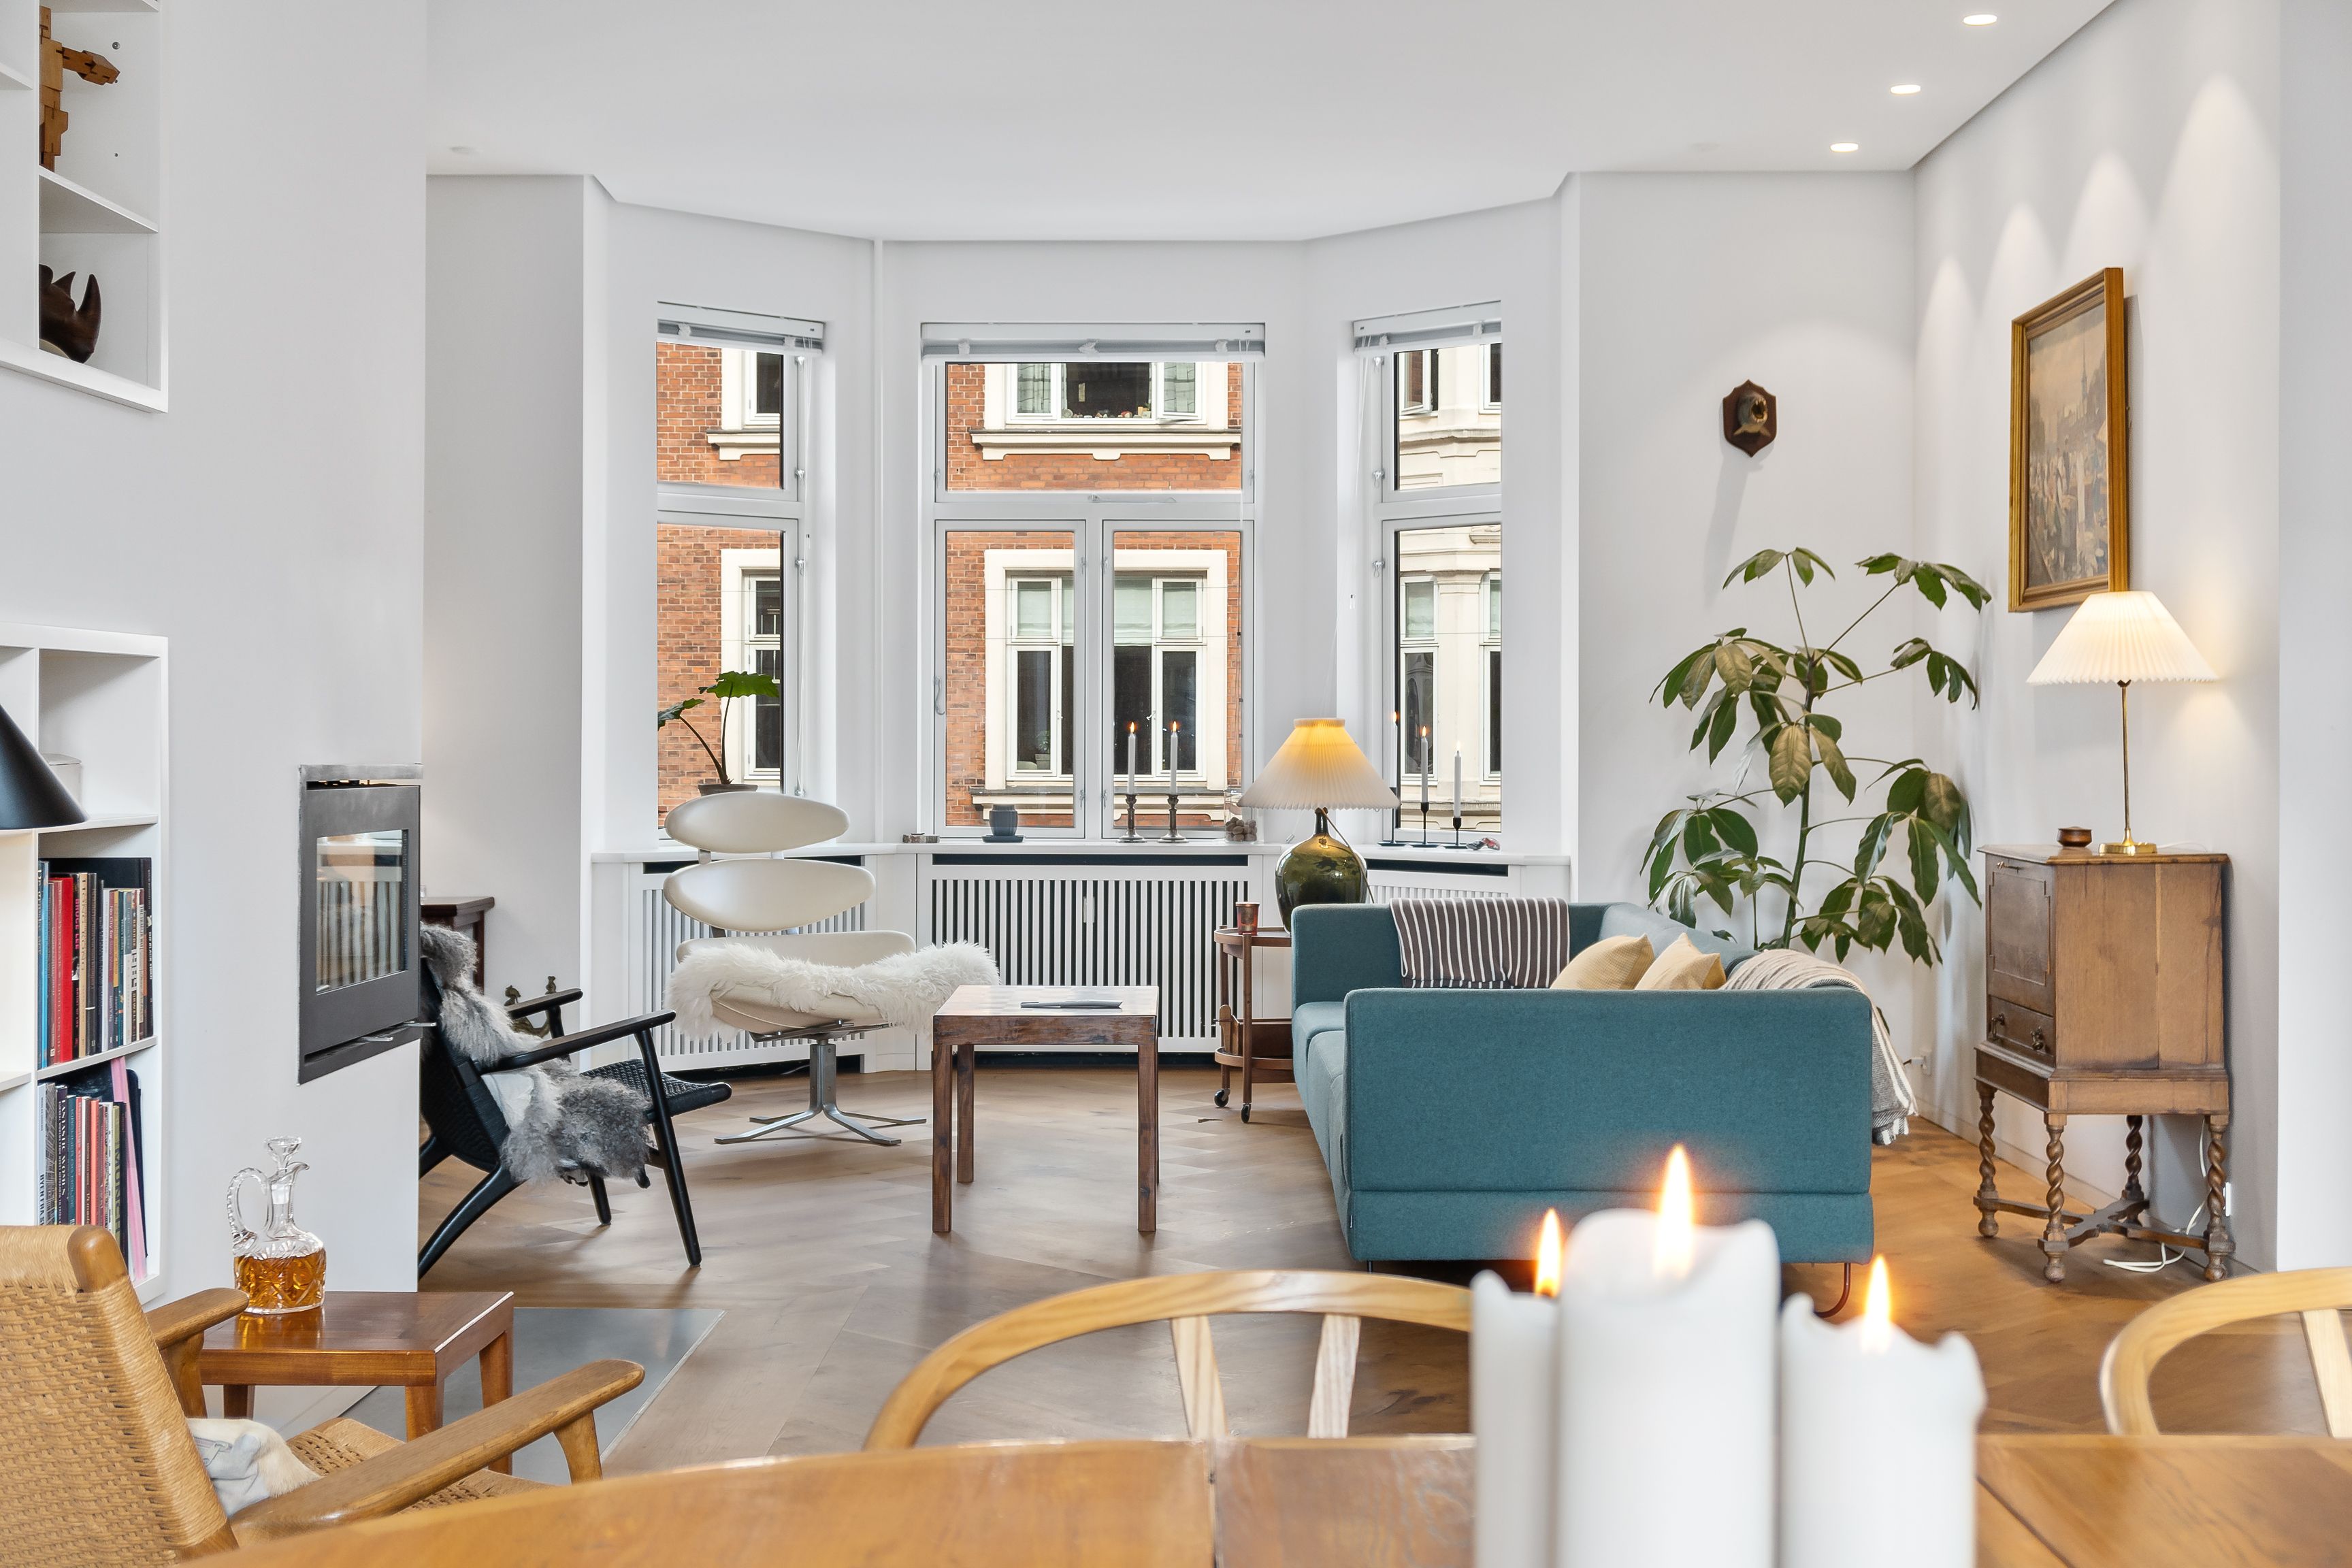
Indoor shots
Sequence: entry ⇒ living room ⇒ kitchen ⇒ balcony ⇒ bedrooms, bathrooms …
Detail shots: medium or close-up shots of selling features (beautiful design, structures, interesting details)
It might take several takes, depending on the size of the house but you can always consider using a different focal length.
Plan the Output Requirement
Knowing how the footage will be used helps you do real estate video production with purpose. For standard listing videos (about 2 minutes long), follow these guidelines:
On average, aim for 25–30 input clips for a 2-minute video, or 12–15 for a shorter 1–2 minute version. Try to shoot them in the same order they would be shown in the final video
Record each clip for 10–30 seconds for flexibility in editing
Keep your total file size under 5GB to avoid upload or transfer headaches.
Use common video formats: MOV or MP4.
This ensures you’ll have more than enough variety to edit a polished, cohesive video without overshooting.
Read more: Top 5 Real Estate Video Editing Services That Can Boost Listings
Prepare the Voice-Over (Optional)
If you’re shooting a house tour video that has a voice-over of the agent describing the property (not agents talking directly to the camera), there are a couple of things to get right:
Use a good microphone when you record audio, a lavalier mic that attaches to your realtor is the most ideal. The on-camera mic is only usable when it’s close to the speaker.
Include a simple timestamp with relevant scripts from the audio track
If you don’t have a timestamp table, give editors a heads-up of what the main focus of the talk (audio track) is. Do expect the editing process to take longer without a script table.
3. Some Pro Tips for Smoother Real Estate Video Production
Over time, you’ll develop your own rhythm, but here are a few shortcuts to get ahead:
When you move between 2 rooms with different lighting conditions, don’t cover them both in one take. It’s better to adjust the camera setup and shoot rooms separately
Lens flare is debatable, but we recommend avoiding it as it helps create a consistent color display easier later when you edit
Always check and clean your lens before every take to prevent any dirt/dust
If you take the detail shot with your slider, make sure the rail is clean and smooth
Don’t go too fast, take it slow as the latter is better manipulated in editing
4. How to Polish Your Videos
The post-production works as hard as your actual real estate video production process. Whether it’s a full property tour, a simple slideshow, or a quick social clip, the real impact comes once everything is pulled together in the editing stage. This is where your clips are shaped into a cohesive, compelling story that buyers actually want to watch.
At Esoft, our video editing solution is built to bring out the best in every format. We fine-tune flow, color, and pacing, while also adapting each video to your clients’ specific use. We can provide videos that are branded with agent information for listing purposes or unbranded for multiple-use purposes. We also offer add-on graphics that add context and match the agents’ brandings.
Editing ensures your video isn’t just polished, but purposeful, giving you and your agents a sharper marketing toolkit to market properties.
| Check out our video editing end-to-end solution!
5. Final Thoughts on Real Estate Video Production
Real estate video production may seem overwhelming at first, but once you get into the rhythm, it becomes a natural part of your process. With the right preparation, a thoughtful approach to shooting, and a clear vision for the final edit, you’ll see your skills grow with every project. Each video is an opportunity to tell a stronger story and give your clients the edge they need in a competitive market.
And if you’re ready to take your productions further, our team is here to help with professional editing tailored to your needs. Reach out to us at sales.vn@esoft.com and let’s create videos that truly bring properties to life.
Related Blogs

How Real Estate Video Editing Outsourcing Can Enhance Your Business Portfolio
Video Editing

Real Estate Video Editing Tips - Top Dos & Don’ts
Photo Editing

Why Video Is Becoming the Core of Every Listing Strategy in 2026
Video Editing
Real estate video production - The complete guide for beginners
Video Editing


Linh Phan
Content Strategy Executive
No Spam, Just Updates
Our fresh blogs provide technical and industrial information that helps strengthen your business. Sign up to be the first to receive the new updates
