HDR photos are often stereotyped as oversaturated or harsh looking. But that doesn’t have to be the case. When you edit HDR photo correctly, they can look natural, balanced, and professional for dramatic landscapes, stunning interiors, or tricky lighting conditions.
If you’re shooting with exposure bracketing and struggling with HDR image processing, this blog is for you. We’ll walk you through expert-backed tips to refine your HDR editing workflow and avoid common pitfalls. Stay with us until the end to discover the best solution for HDR editing and how to avoid the most frequent mistakes.
1. What Makes a Good HDR Real Estate Photo?
The quality of HDR photography comes down to two factors: input quality and editing quality.
Good inputs
The core of HDR is shooting several photos of the same scene at different exposure levels then merging them together to create final images that have the correct exposure. As long as the inputs are properly exposed, the final quality is ensured. While it may sound simple, there are a few key points to keep in mind:
Balancing exposures
The number of underexposed and overexposed frames will vary depending on the scene. For instance, during twilight shoots, including more underexposed shots helps preserve details in the sky while still balancing the rest of the composition.Minimizing movement
Because HDR merges several photos into one, alignment is critical. Any movement between frames makes editing difficult and can cause ghosting or blurring when you edit HDR photo. To avoid this, mount your camera on a tripod and use a remote shutter release to reduce camera shake.
| For a deeper dive into HDR camera settings, check out our guide here: How to set up the camera for HDR shooting
Good editing
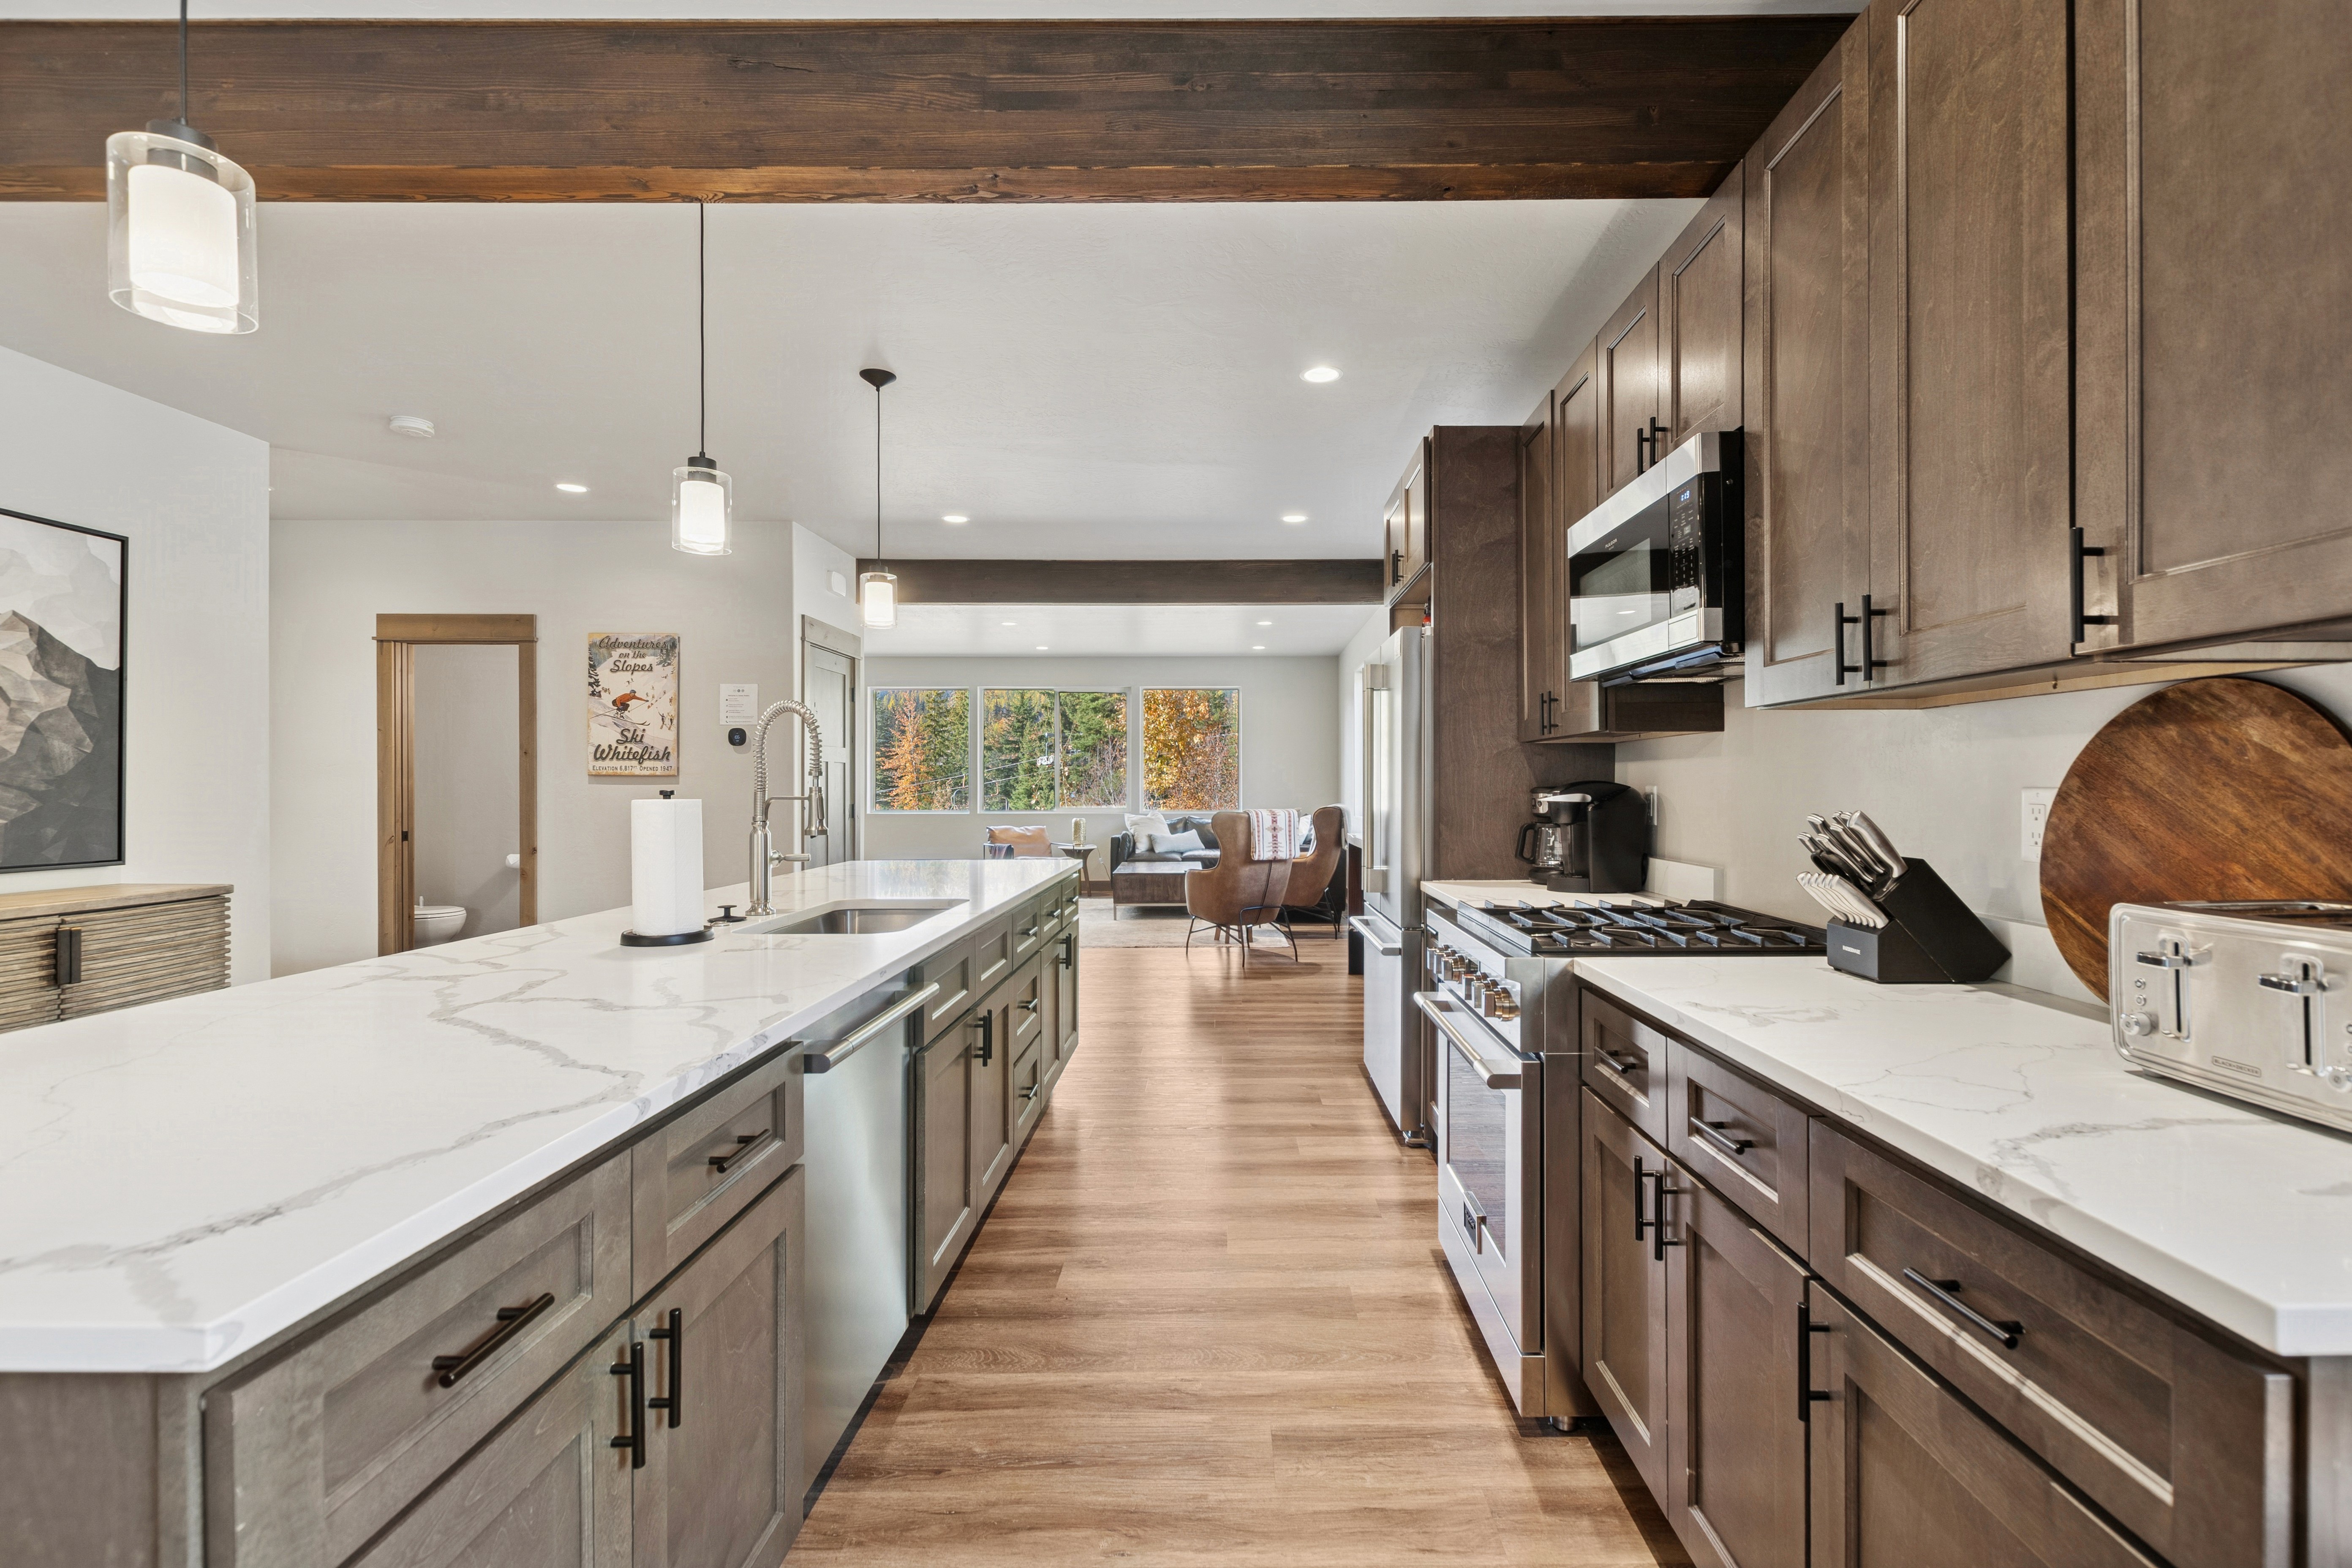
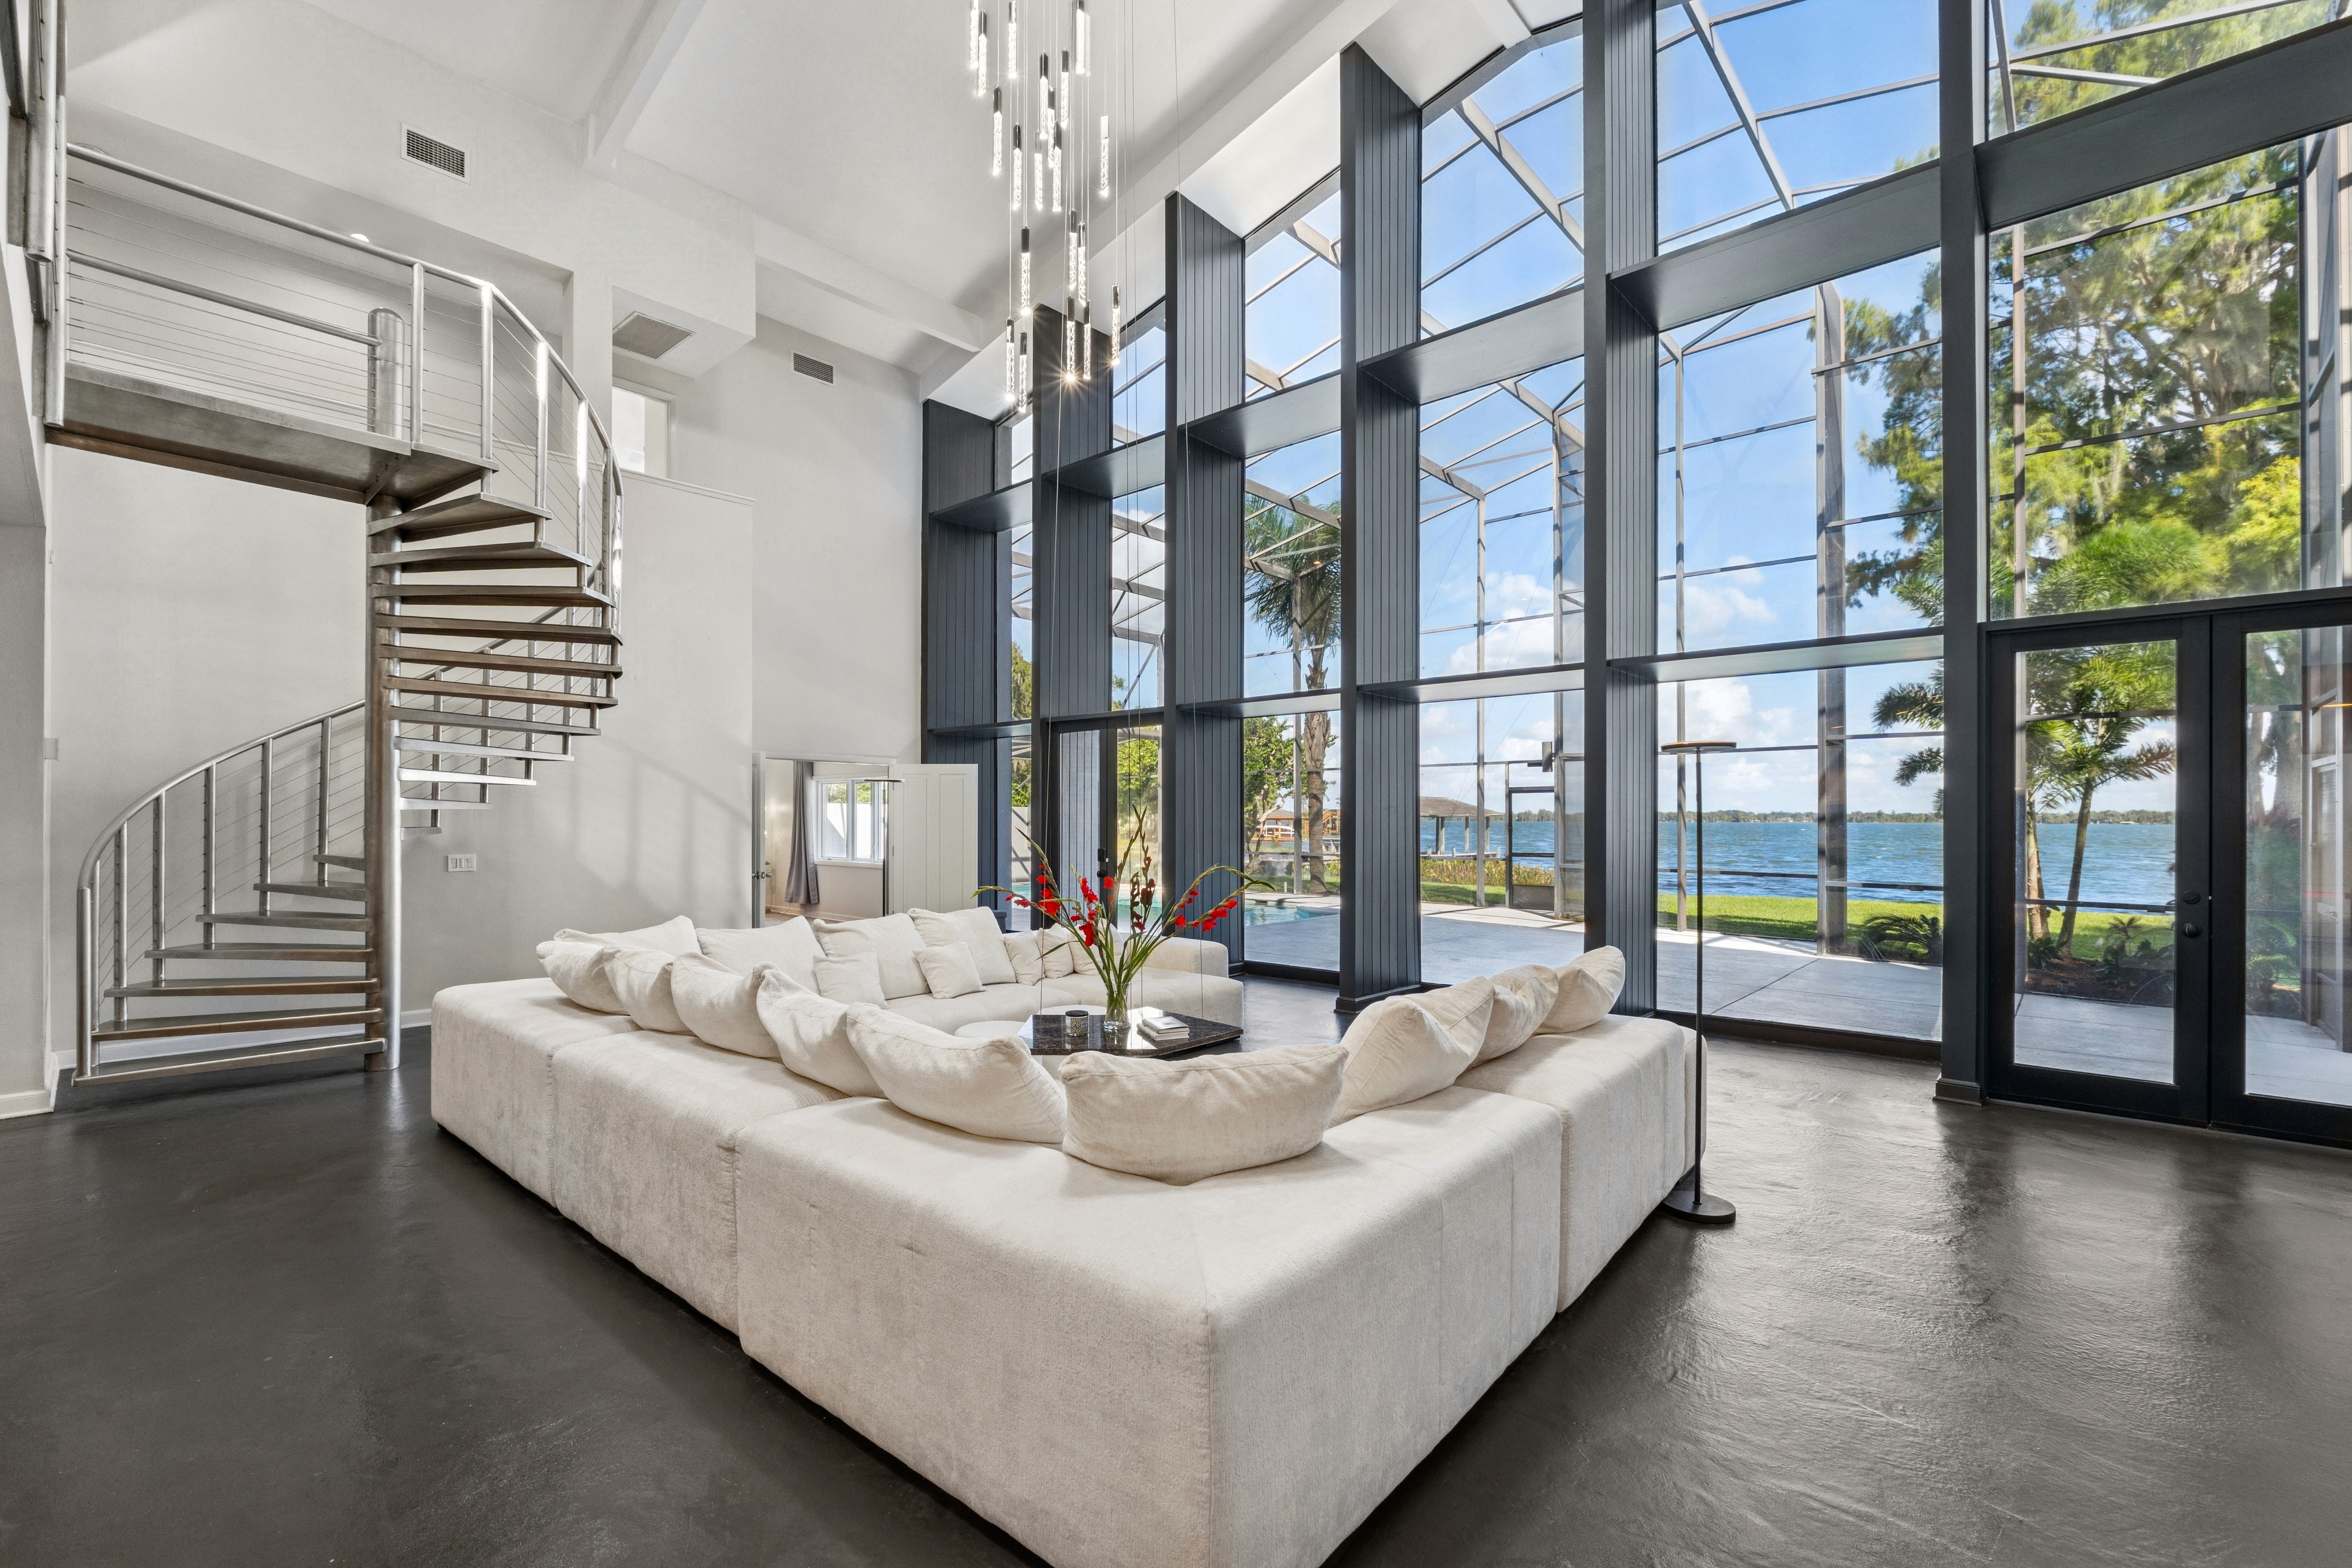
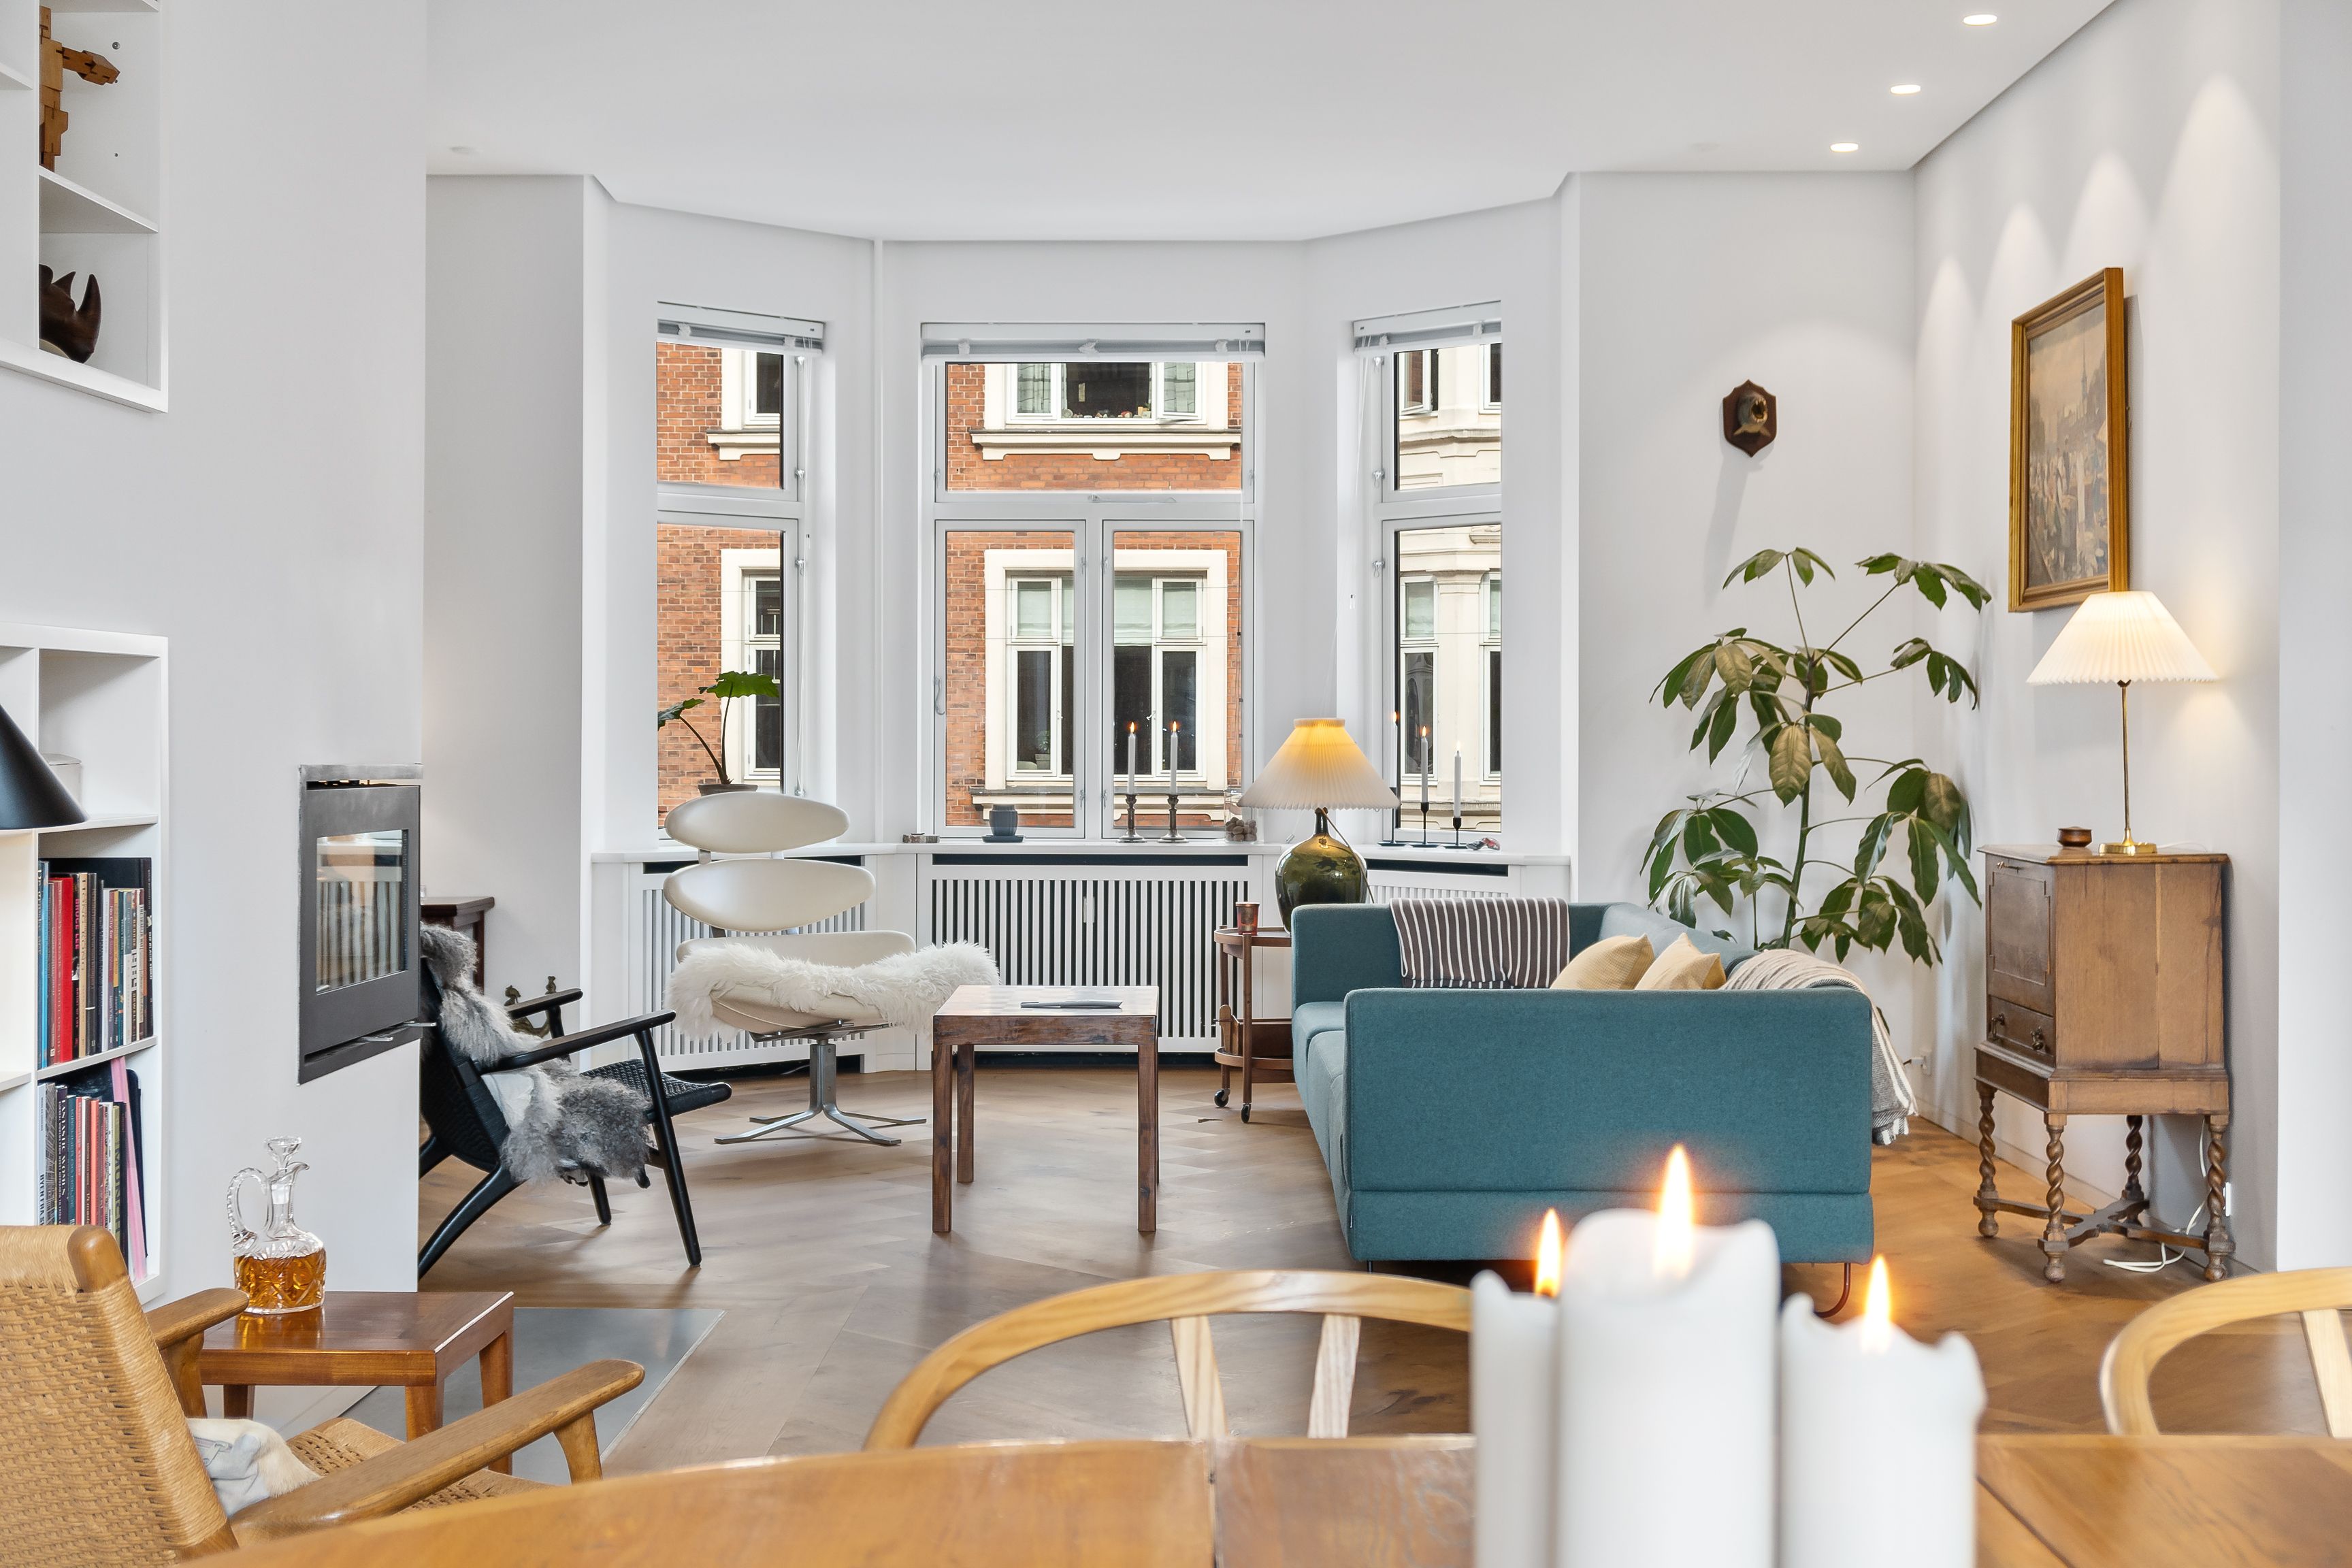
A sample of HDR editing style done by Esoft
HDR often gets a bad rap for looking artificial, but that’s usually the result of heavy-handed editing or relying too much on presets. Many automated HDR programs and portrait filters create exaggerated, unrealistic images, which overtime gave HDR a reputation it doesn’t deserve. The truth is, HDR isn’t a style. It’s simply a technique designed to extend your camera’s dynamic range, so both highlights and shadows are properly captured.
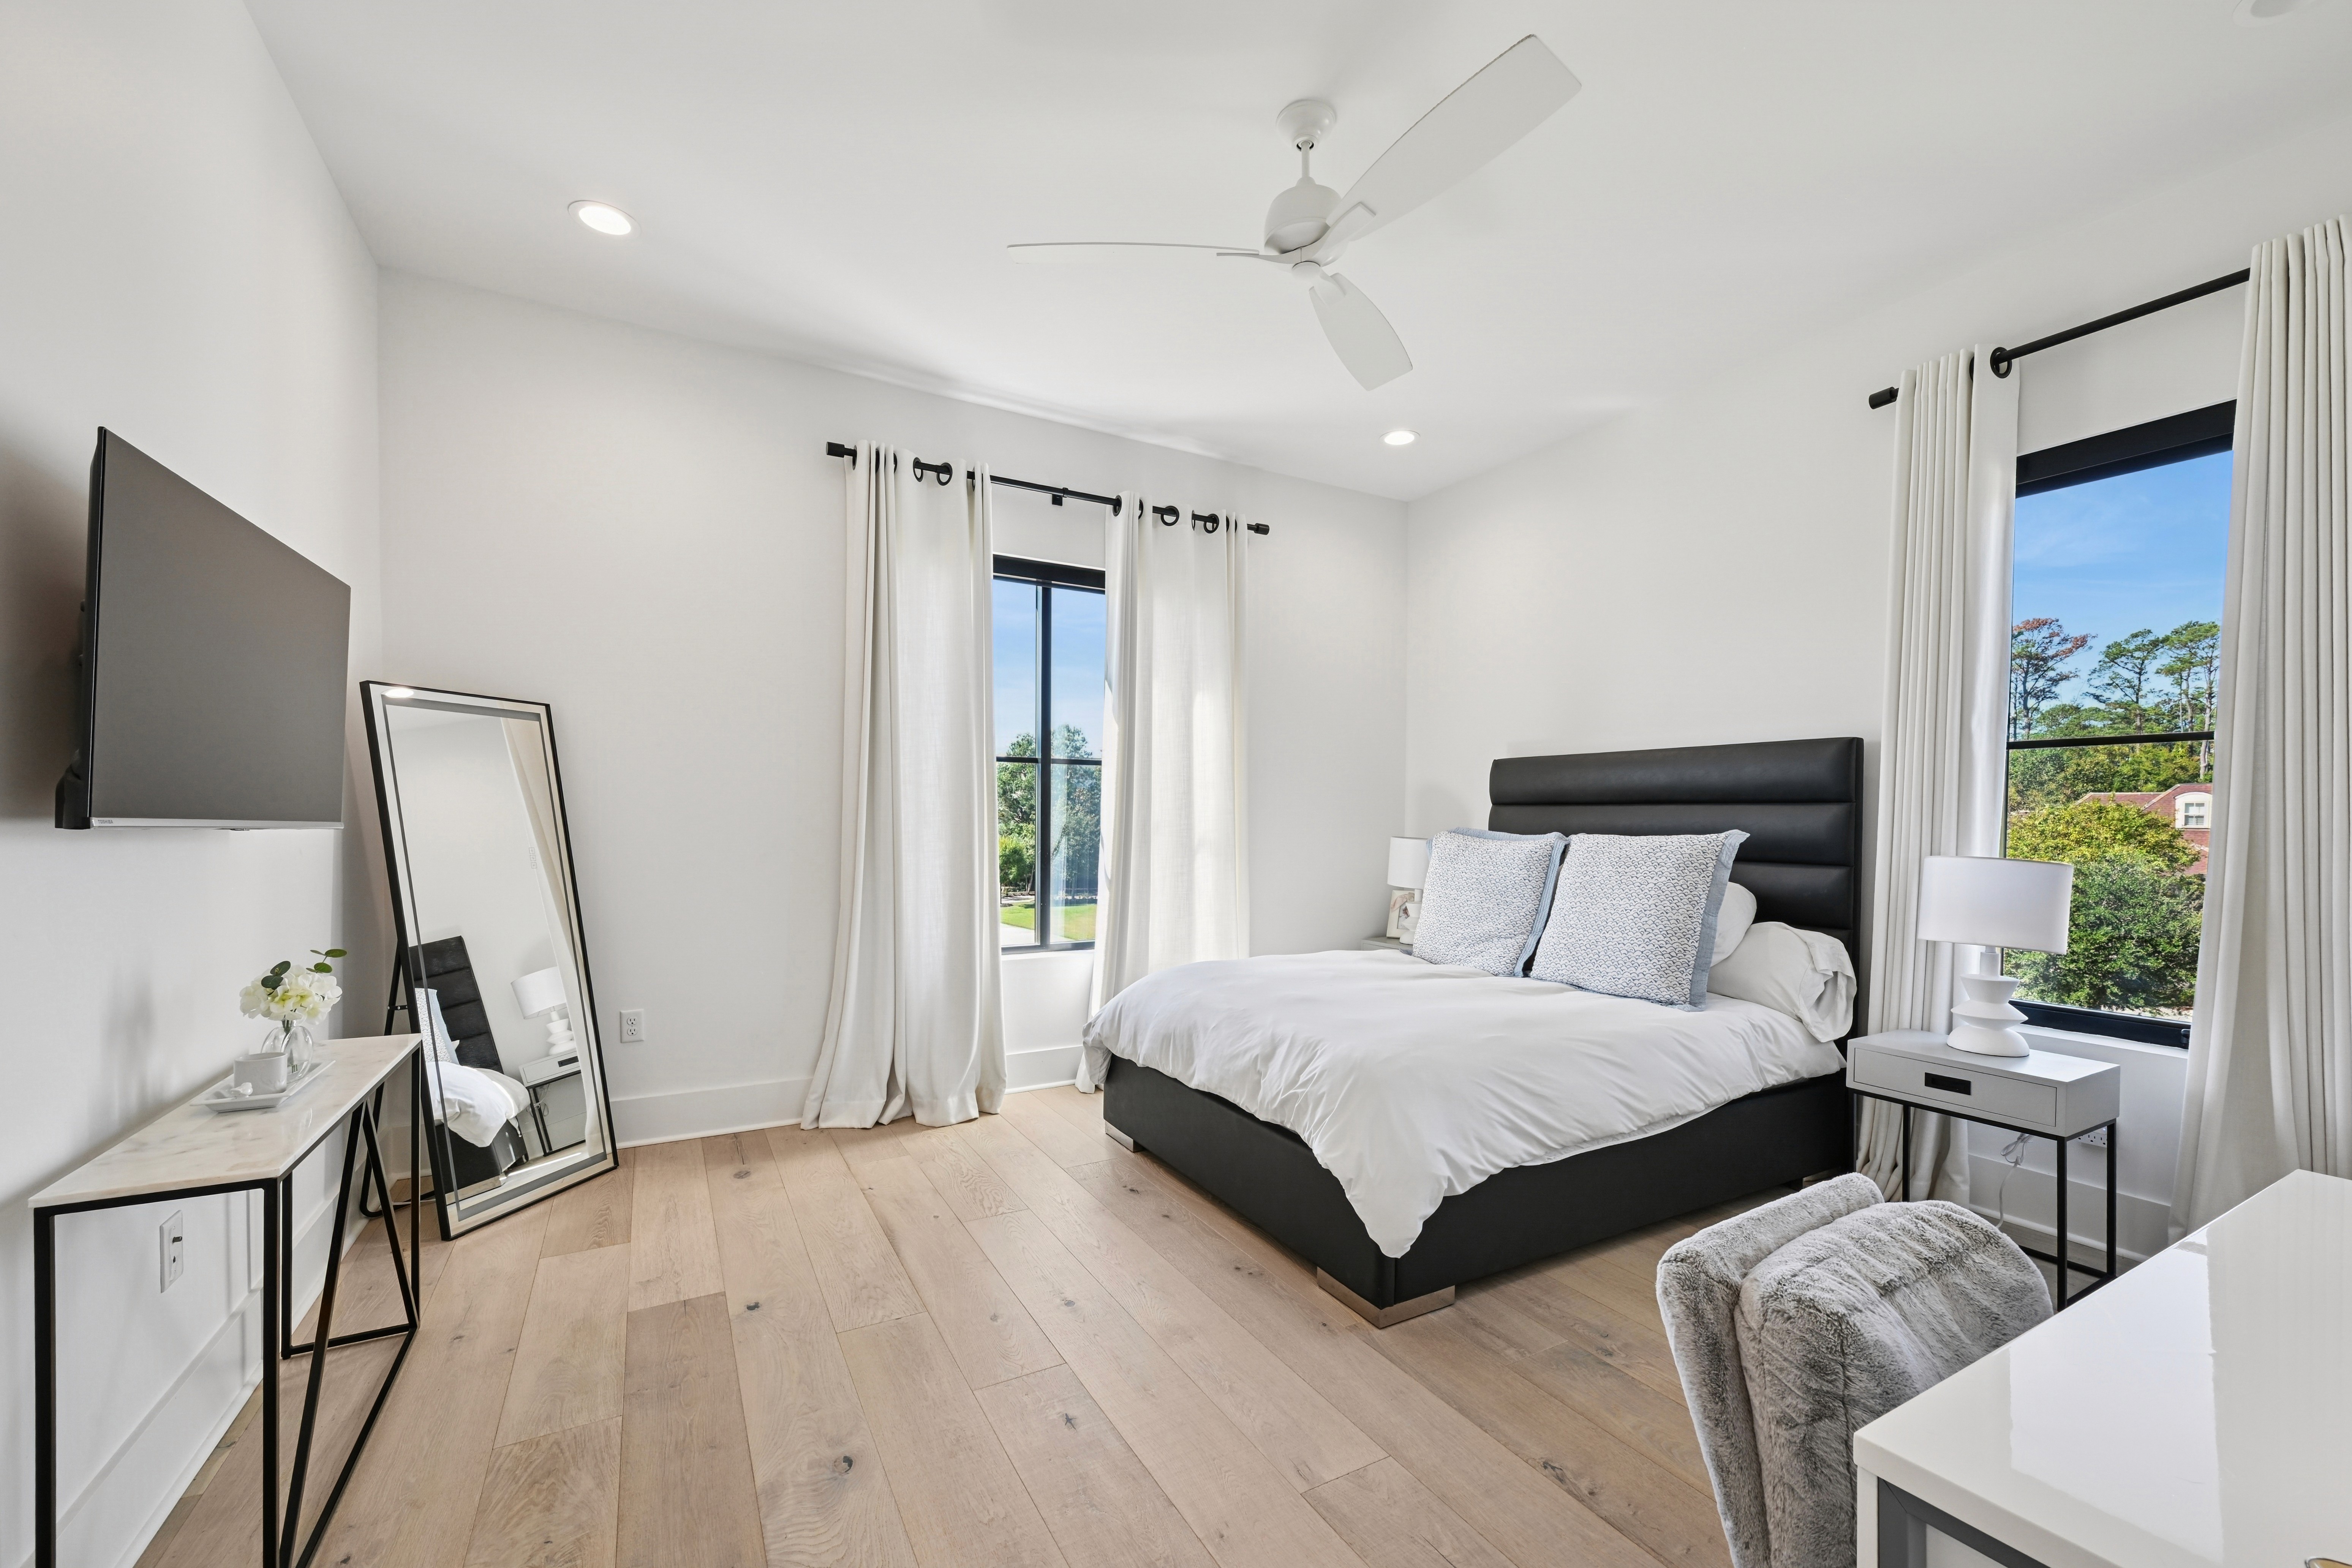
When you edit HDR photo correctly, your final outputs look subtly enhanced. A good HDR photo feels natural, with balanced light and preserved contrast, not something that looks overly processed. What really defines the final look isn’t the HDR itself, but how you choose to edit it afterward. You can keep it clean and realistic or push it in a more stylized direction.
If editing isn’t your strong suit, outsourcing can save time and guarantee quality. At Esoft, we offer both natural and vibrant editing options, with our team of editors and product experts ensuring your HDR photos highlight the property beautifully without looking overdone. We’ll explore this later in the blog.
2. HDR Real Estate Photography Styles
Editing style plays a big role in how the final images are perceived. Here are two common approaches:
Extreme/artistic editing
As the name suggests, this style has the tendency to be more vibrant and intense. The results are well-lit and dramatic - but often at the cost of realism. Oversaturated tones and cartoon-like effects can misrepresent a property, creating an image that looks nothing like the real space. Because of this, overly artistic HDR is rarely favored by real estate professionals or buyers, as it risks giving a false impression of the home.Naturally blended HDR
A more subtle approach to edit HDR photo is to enhance it while keeping it true to life. Natural HDR editing maintains original colors and details, gently balancing brightness and shadows to showcase the property in its best light. By avoiding blown-out windows or unnaturally bright interiors, this style builds trust with buyers and ensures the property is presented as it really is.
3. Which Solutions Can Be Used to Edit HDR Photo?
As mentioned above, choosing the right software can make the difference between amateur-looking images and polished real estate photos that attract buyers. are some of the most popular HDR editing solutions that you can consider using.
Adobe Lightroom
Lightroom is a beginner-friendly choice to edit HDR photo. Its merge-to-HDR function is simple to use and great for photographers with limited editing experience. The software can auto-align exposures, even handheld, and remove “ghosting” caused by moving objects between frames.
Pros:
Easy to use, no technical knowledge required
Capable of producing natural, balanced HDR images
Auto-aligns exposure brackets when shot handheld
Saves HDR output as DNG files, compact but detail-rich just like RAW files
Cons:
Requires a paid subscription, which can be costly
Limited sharing features
No support for layer editing
Adobe Photoshop
Photoshop is the go-to tool for professionals who want maximum control to edit HDR photo. It’s handy for more than simply photo editing and has many capabilities that other editing applications don’t have. Its HDR processing is more advanced than Lightroom, and it also supports layers, batch processing, and plugins for creative flexibility.
Pros:
Full control over tone curves, colors, and edge glow effects
Supports different plugins for specialized HDR styles
Advanced editing beyond HDR (layers, composites, retouching)
Cons:
Steep learning curve for beginners
Requires a paid subscription
Aurora HDR
Aurora HDR is known for its powerful AI-driven tools and tone-mapping technology, making it ideal for real estate photographers aiming for professional results when they edit HDR photo. It integrates seamlessly with Apple Photos, Lightroom, and Photoshop itself to access more advanced photo editing features.
Pros:
High flexibility to customize all features without requiring technical expertise
Works as both a standalone app and plugin
Wide range of tone and color adjustment tools
Cons:
Paid software, no free trial for advanced features
Lacks lens correction profiles
HDR merging can be slower compared to other tools
Luminance HDR
Another famous software that users may rely on to edit HDR photo is Luminance HDR. Luminance HDR is a free, open-source option with a surprising range of capabilities. It offers multiple blending algorithms, batch processing, and supports various file formats, making it useful for both beginners and advanced users.
Pros:
100% free with many advanced functions
Supports multiple file formats
Offers flexible HDR merging and blending options
Cons:
Some features can feel complex and overwhelming
Interface isn’t as polished as paid software
4. Common Mistakes When Edit HDR Photo to Avoid
Mistakes in editing HDR photos are common, and they could seriously affect the final quality of your work. Aware of these beforehand can help you save valuable time and resources.
Oversaturation
Too many saturated colors can be tiring to the viewer’s eyes. Thus, having a nice balance of saturated and unsaturated colors is recommended to create natural looking yet attractive HDR photos.
Avoid increasing color saturation evenly throughout the entire image. If you must, do so in a subtle way. If you need additional color boost in specific areas, utilize the targeted adjustment tool to increase saturation selectively. Most HDR editing software now has this feature, or you could do it in Photoshop with layer masking.
Too much detail
Just like color saturation, too much detail can be overwhelming and distracting, making it difficult for viewers to focus on the subject of the photo. Too much detail can also make the photos look cluttered and busy. It’s best to focus on the main subject of the photo such as the property itself.
Increasing details enhances the texture and gives the impression of “sharpening”. However, too much detail will result in shadow clipping. Sharpening, on the other hand, improves the contrast, making your image appear more defined. Always remember to apply this sparingly and avoid areas such as clouds, water and skin.
Halo effects
A halo is a rim of light that can appear in areas of high contrast when the photo has been subjected to very heavy amounts of HDR editing. It occurs when you do too much with the lighting effect, highlight or shadow smoothing, micro-contrasting, etc.
When using software to edit HDR photo, your outputs will always be prone to halo. A tip for this is to not move all of the adjustment sliders to the far end. As you apply, keep an eye on your image and pay attention to it. You can save your file and return it later in the day if you detect halo with fresh eyes. Alternatively, you can remove it by adjusting the contrast and experimenting with layer masks in Photoshop.
Image noise
Any imperfections in the image are exaggerated by HDR editing software. This is worsened if your raw files already contain some image noise, especially when shooting at high ISO. These visual noises become more apparent after merging into HDR - a disadvantage of the HDR tone-mapping algorithm.
One solution for this when you edit HDR photo is to try to keep your ISO low by using a tripod. This will help to reduce the amount of noise in your images and keep your images sharp. Additionally, to mask out the noise, you can apply a denoise filter in post-processing or use one of the bracketed images exposed for the sky when shooting.
5. Why Work with Esoft to Edit HDR Photo?
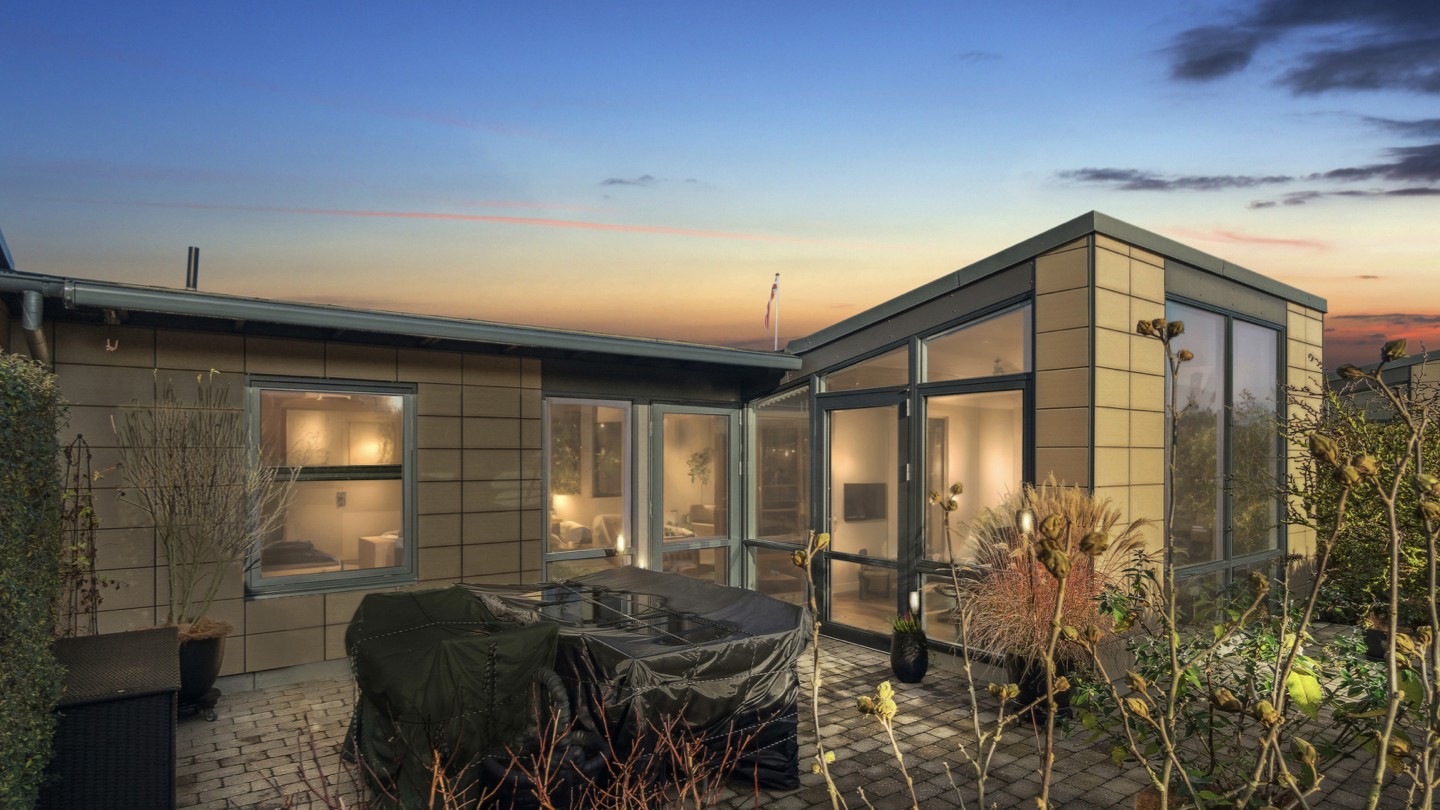
A sample of HDR photo with Esoft’s photo enhancement service
With 20 years of experience in the real estate marketing industry, we help photography companies and media agencies around the world achieve natural, market-ready HDR photos that convert:
Dedicated photo expert
A photo expert will be dedicated to your account. This specialist will work directly with your team and our editing teams to determine the shooting and editing requirements for HDR. Esoft also provides feedback and training sessions with our special experts in terms of bracketing shooting so that photographers can strengthen their techniques and improve their performance. As a result, Esoft can provide better quality consistent HDR real estate photos for your photography business.Skillful photo editing teams
We know how to avoid the “overdone” HDR look. Our editors and quality controllers will make sure you’ll receive visually pleasing HDR photos that showcase properties at their best.Scalable solution:
Whether you’re handling a handful of listings or hundreds, our streamlined process ensures consistency and quick turnaround.
| Featured service: Photo Enhancement Solution
6. The Bottom Line
To edit HDR photo correctly and efficiently, it all comes down to three main things: how you shoot, how you style, and how you edit. Proper bracketing ensures balanced inputs, a natural editing approach builds trust with buyers, and the right editing software (and partner) helps refine every detail. By combining strong technical execution with thoughtful editing choices, HDR photography can become a great asset that attracts more agents to your photo offerings.
Let Esoft do the heavy lifting so your photographers can focus more on shooting. Contact us today!
Related Blogs


Linh Phan
Content Strategy Executive
No Spam, Just Updates
Our fresh blogs provide technical and industrial information that helps strengthen your business. Sign up to be the first to receive the new updates
